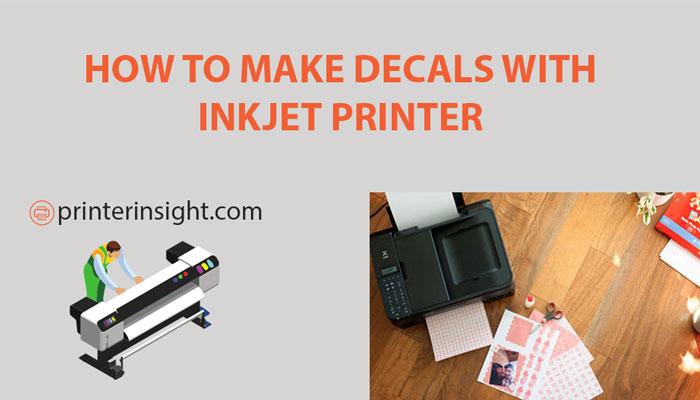
Decals are a variety of decorative designs. Knowing how to make decals with inkJet printers involves printer setting, acrylic spraying, decal cutting, soaking in water, etc.
Do you imagine seeing eye-catching designs on your walls, glasses, or floors? Using decals is the most pleasing way to make these possible. Decals are a particular type of paper that allows you to stick your desired design in a solid space.
Have you ever wondered about how decals are made?
Well. Inkjet printers are reputable for printing decals of versatile designs, shapes, colors, etc. But how to make decals with inkjet printer?
Let’s find out.
Required Materials
Making decals with inkjet printers is a combination of some interrelated tasks. You need some necessary materials to perform these works efficiently.
Make sure that you have the required equipment before starting the entire process. Now, look at the following materials.
Graphics Tablet
A graphics tablet is an electronic device that makes image editing easier. You can quickly draw the design layout and make necessary changes if required. A specific stylus is found in the market for conveniently making decals on the graphic tablet.
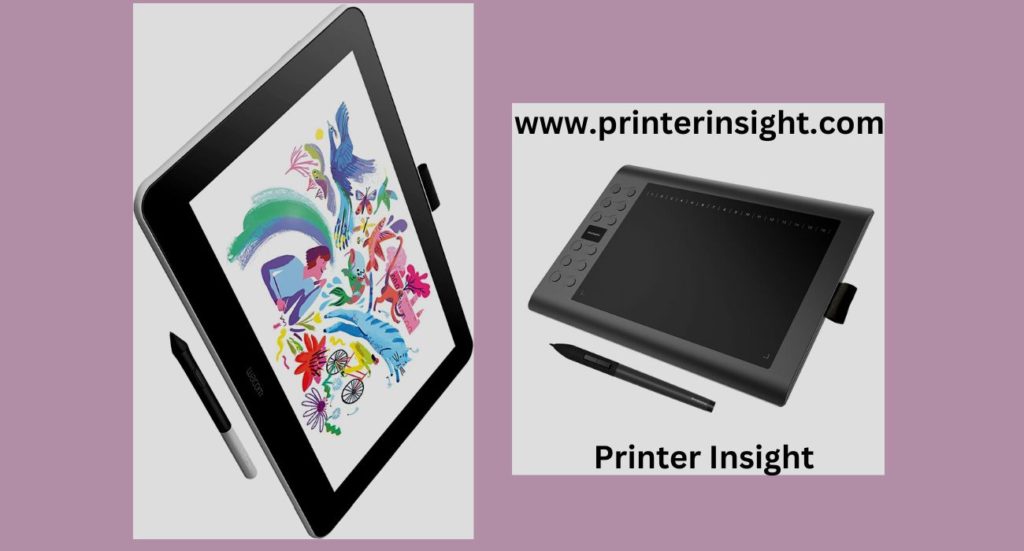
You can also use your fingers for your convenience. Photo editors are another option for you to design decals.
Inkjet printer
An inkjet printer is a compulsory element for making decals. But how do you choose a reliable Ecotank Printer vs Inkjet Printer amid a competitive market?
Various inkjet printers deliver decal printing, ensuring outstanding resolution and printing quality. You need to choose one concerning your budget and printing volume.
Water Slide Decal Paper
It is an obligatory paper to transfer designs to specific solid spaces. Waterslide decal papers are suitable for transferring images to vessels and glasses of complex shapes. These papers are highly resistant to external hazards.
You should collect waterslide transfer papers from a reliable source. It is essential for ensuring optimum quality while making decals.
Acrylic Spray
Acrylic spray is another vital material for printing decals for models, glasses, etc. Do you know its use?

You need to use acrylic spray varnish to ensure protection for printed decals. Try to apply acetone-based sprays for your decals. It provides better quality.
Except for these, you need to manage craft knives, water, tissue paper, scissors, etc. Don’t forget to arrange any of these materials.
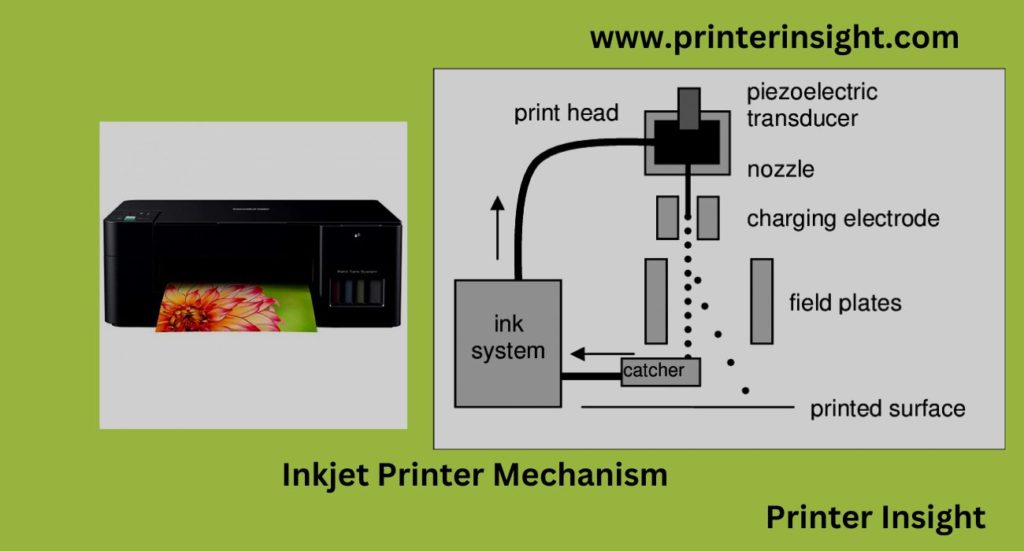
Create Decals With InkJet Printer
Do you know the procedure of making decals with inkjet printers in detail?
You should perform the following steps.
Arrangement Of Materials
From where do you need to start?
Materials are the must-have factor that you need first. We have already mentioned the required materials for making decals with inkjet printers.
Remember, don’t think of arranging them later. You must ensure that you have sufficient materials when you start the process.
Inkjet Printer Setting
The next segment is setting up the inkjet printer. Do you have enough ideas about inkjet printers, their parts, and their settings?
You need to set different parts properly. Then, connect the printer to your computer after completing the printer setup.
Image Downloading or Scanning
Now, you must manage the images for making decals with inkjet printers. You have two options. Either you collect a printed image, or you have to download images from the internet.
Don’t forget to maintain an image resolution of more than 600 DPI (Dot Per Inch).
If you choose the first option, you must scan and edit the printed images.
In both cases, you can edit the images as per your demands. There are various image editing software to make this happen.
Do you know how to sketch?
You can also make decals with your sketched designs. You just need to use the graphics tablet to draw your graphic designs. Then, do the same thing as the previous two options.
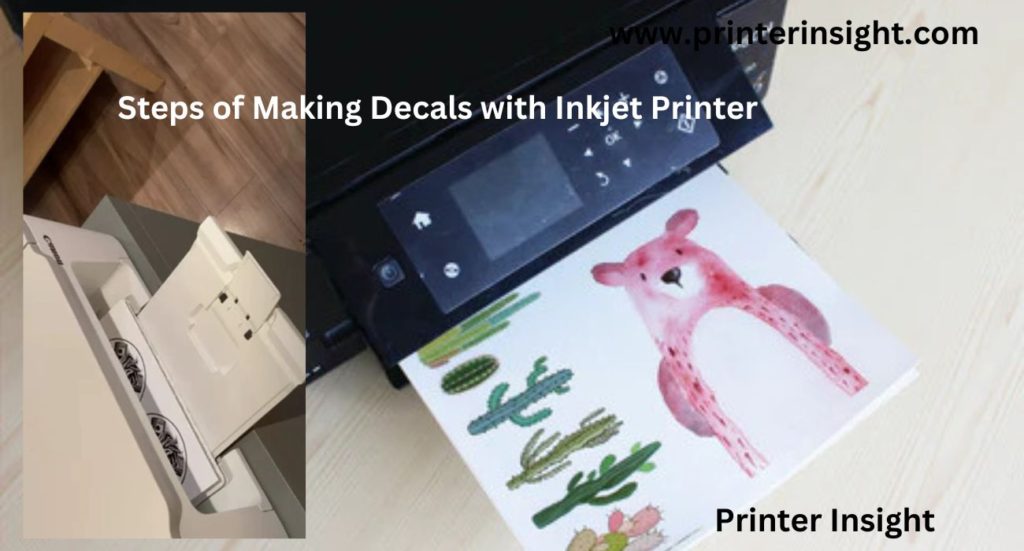
Waterslide Decal Paper Insertion
After the completion of the image-related part, you have to insert waterslide decal papers into the inkjet printer.
You should focus on the guidelines of the waterslide decal transfer paper manufacturers. It is highly essential to keep these papers facing toward the printer head.
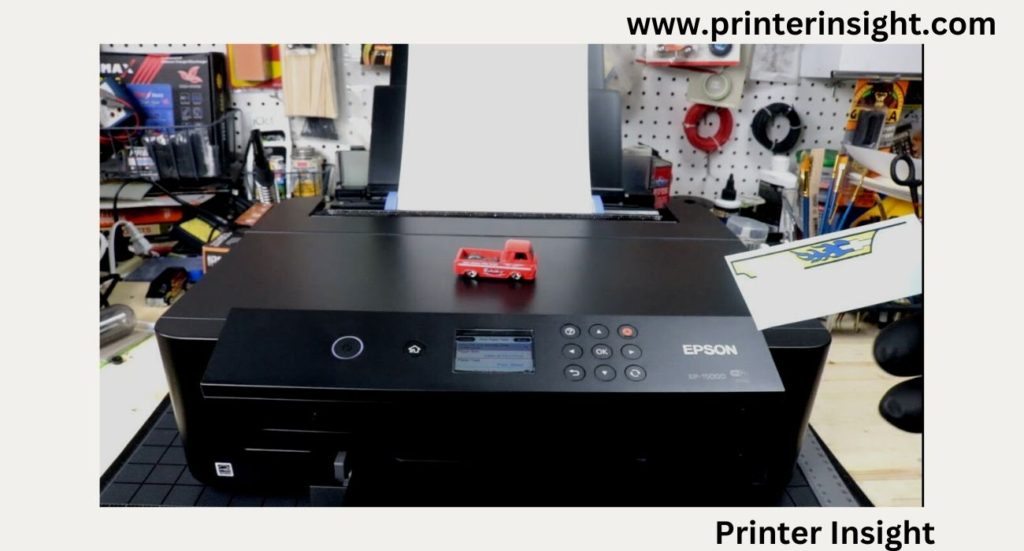
Printing
What next?
Set the program of inkjet printers concerning the expert opinions for transfer decal papers. Then, the rest of the thing is to print the images on these transfer papers using the inkjet printer.
You must dry these printed papers for around half an hour. Don’t start the further processes without completely drying up of decal papers.
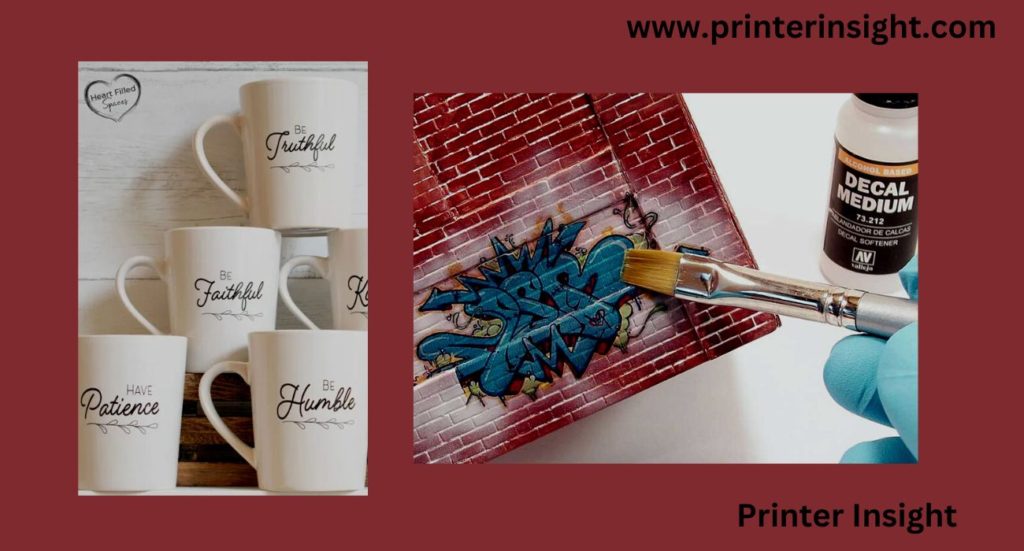
Acrylic Sealant Coating
After the removal of the printout, the next part is spraying acrylic sealant on the waterslide decal papers.
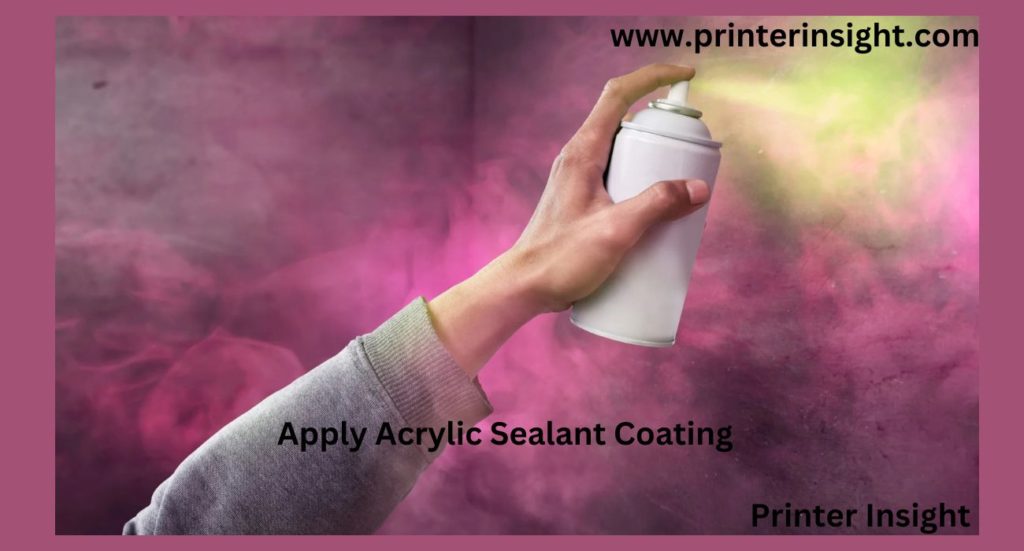
In most cases, two layers of acrylic sealant spray are adequate. Sometimes manufacturers guide to apply more acrylic sprays on the transfer paper.
But do you know the perfect time interval between two sprayings?
OK. There is no specified time range for spraying the acrylic sealants. You have to apply a spray when the previous coating dries completely. Using a new coating on wet transfer paper is not good in this case.
Cutting Off The Decals
Now, cut off the decals taken away from the water. You can use a scissor to cut the additional blank sealer. Keeping the decal paper flat on a magazine or table is required.
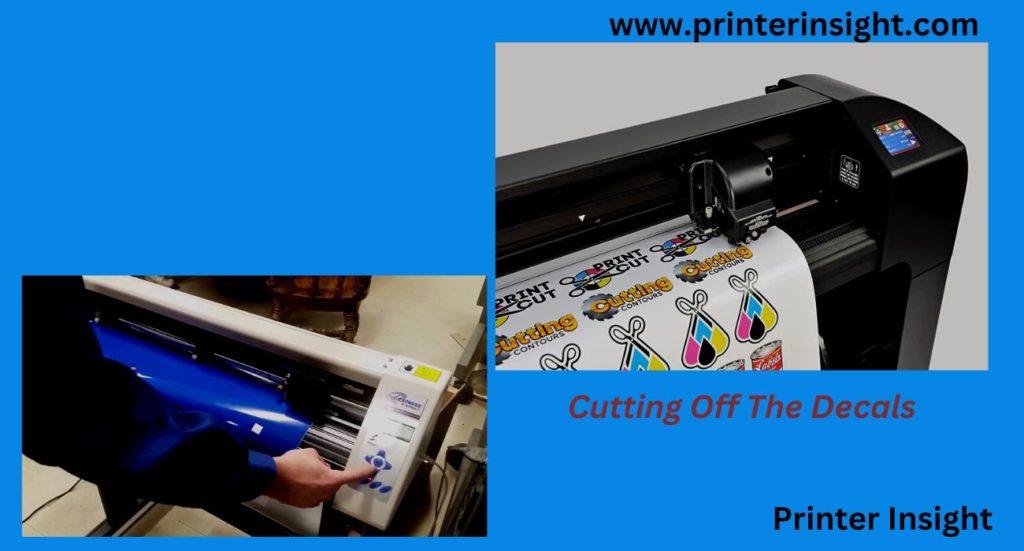
You should keep 0.25 inches for the border while using transparent decal paper. But leaving this space doesn’t add any aesthetic value if you deal with a white transfer paper. So, don’t forget this issue.
Soaking The Transfer Paper In Water
When you complete the cutting successfully, you have already completed the major portions of making decals. Make sure that papers are dried up properly before soaking them in water.
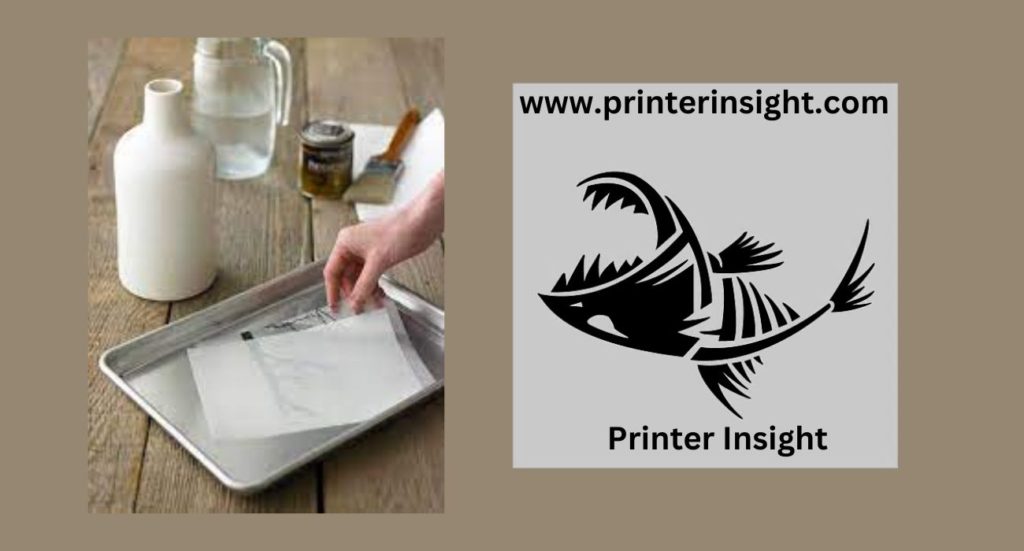
Around two inches of water in a pot is sufficient for this purpose. By the way, how long do you need to keep them in water?
You will get the answer written on the box of transfer papers. After a few moments, the paper slips backward and forward when you try to move it using your fingertips. Then, you should understand that taking the paper from the water is high time.
Final Touch
In the end, carefully peel off the decal’s back and place it at the designated location. Leave it for some time to let it dry. If you see any presence of water or other liquids on it, don’t forget to remove it. You can utilize tissue paper or a towel in this issue.
Tips
Are you worried about the minute issues of making decals with an inkjet printer?
Don’t worry. We are here with some tips to make your journey hassle-free and successful. Let’s have a look.
- Dry the acrylic coating before applying a new spray.
- Ensure that the coated part faces the head and know how to clean inkjet printer head automatically.
- The ink cartridge of the printer needs to be emptied before printing.
- Check whether the printer and design files are compatible or not.
- Cut the decals prior to soaking them in water. It reduces the chance of unwanted transfer of the decal papers.
- Use high-quality transfer papers and cutting materials.
- Try to manage the best inkjet printer within your budget.
- Keep the waterslide decals sealed with adequate sealant. It improves the durability of decal papers.
- Print on a glossy paper to experience better printing quality.
- Gather a clear concept of the functionalities of an inkjet printer.
⚠️ Warning⚠️
- Don’t print decals on dishes. The chemicals used in making decals are harmful to the human body.
- Use a face mask while spraying acrylic sealant on the decal papers.
Frequently asked questions (FAQs)
Can you print decals on an inkjet printer?
Yes. Inkjet printers are worthwhile for printing decals and using them to decorate walls, glasses, etc. You need to do materials arrangement, printer setting, acrylic spraying, decal cutting, soaking in water, etc.
Can you use a regular printer for decals?
You can use a regular inkjet printer for making decals. Just focus on reducing the wastage of ink and decal paper. Learn how to take ink out of a printer in the easiest way.
What is the difference between Decals and stickers?
Decals have a larger shape compared to stickers. You can use decals on walls and glasses. But stickers have superior uses in bottle caps, product packaging, small logo on electronic devices, etc.
How do you remove decals from a solid surface?
You can easily remove decals from solid surfaces by applying heat to them. A certain amount of heat makes the adhesives soft. Then, it will not be very tough for you to peel the decals through the nails.
Final Words
This is all about “how to make decals with inkjet printer.” Making high-class decals requires excellent precision and efficiency.
We tried to explain the ins and outs of this topic. We hope it will be an excellent support for you. In the case of further information, stay tuned.