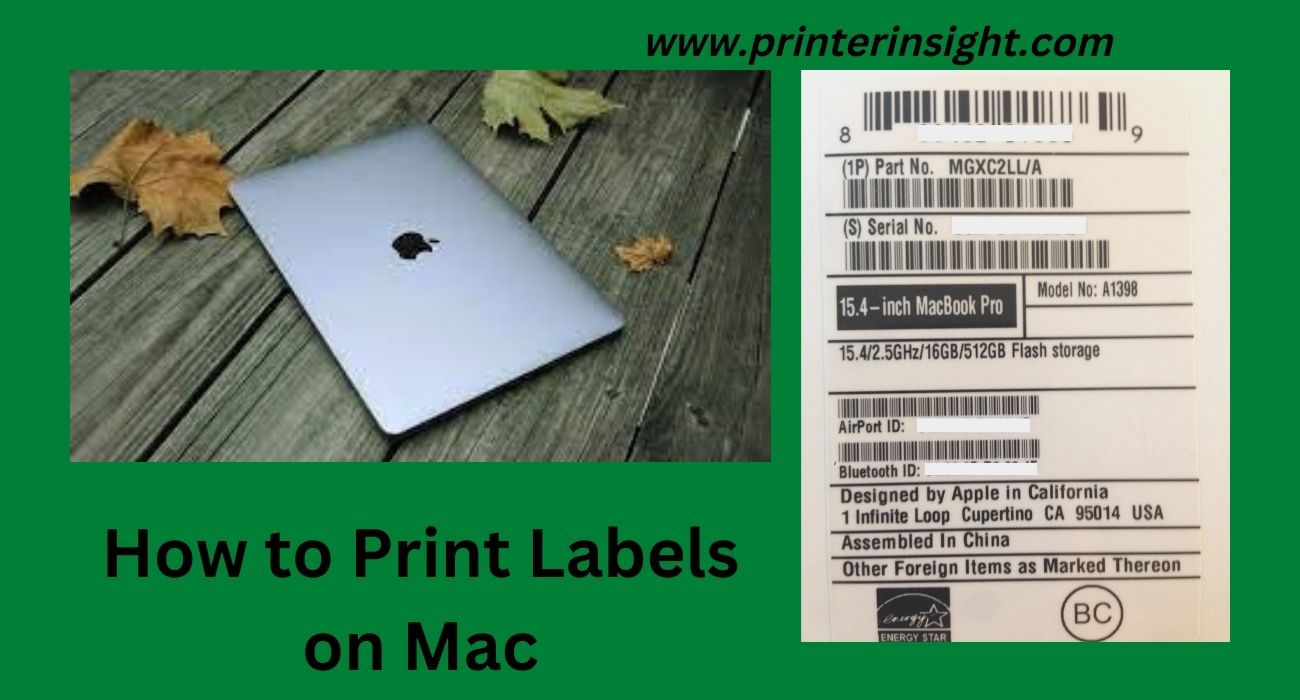
How to Print Labels on Mac- this is a common question in the printing world. Along with newbies, professionals get confused in printing labels on Mac in Word files.
If you are not familiar with printing on Mac, you are in the perfect place to gather expertise on this subject. This article will provide an in-depth idea on making labels and printing them conveniently on a MacBook Pro.
So, what are you waiting for?
Let’s make a move.
How to Make Labels in Word on Mac
To make labels in Word on Mac, you can use Avery templates. If you have the product number, you can consider your job as half done. You need to follow the procedures listed below-
- First, click on “Mailing>Labels>Options”
- Then, you can find a dialogue box containing Printer Type, Product Number, and Label Products.
- Choose the printer type you are using from the “Printer Type” option. You need to change the printer settings to labels in this case.
- Select an Avery option from the “Label Products” option.
- Choose the particular product number for your chosen Avery product from the “Product Number” option. .
- Then, select “OK”
- If you intend to get the same address for all labels, type the information on the “Delivery Address”.
Select “OK”.

Sometimes, there is a possibility of not finding the exact product number of the label. Don’ ‘t get puzzled at that situation. Then, you can follow the following steps-
- Select the most closest product number
- Change the information in the “Label Details” box to match your product label.
- Select “OK”.
How do I Print Multiple Labels from the Same Address on a Mac
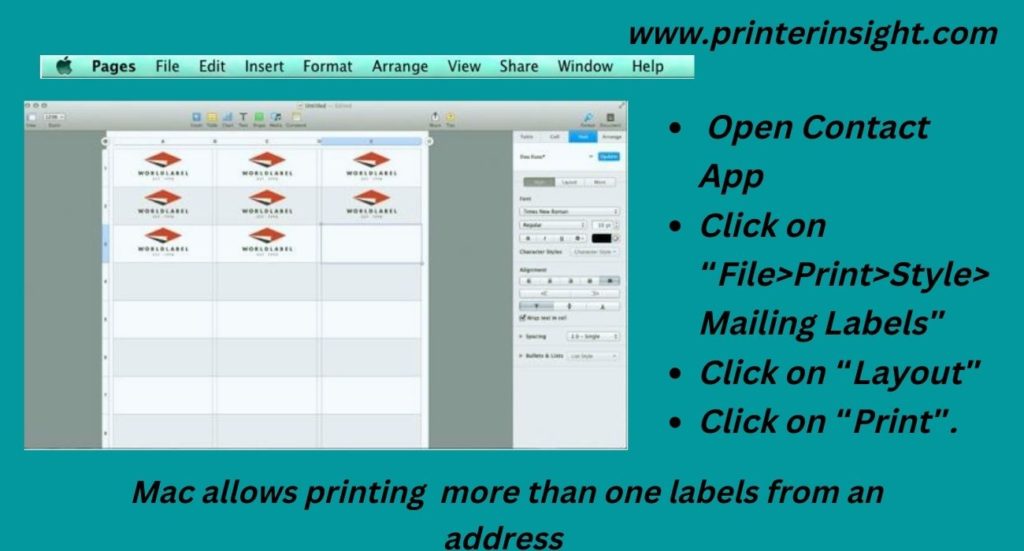
Mac relieves you from writing addresses or other writings on labels, envelops, holiday cards, bills, etc. Modern versions of MacBook Pro and Mac PC offer a Contact App that makes this task easier than before. Besides, you can customize color, font, design, etc to put a personal touch on labels.
Let’s have a look at the following steps for printing labels on a Mac-
- Go to the Contact App.
- There, click on the “File” option and choose “New Group” so that you can use that to gather your required contacts. You can give a name to the “New Group”.
- Click on “All Contacts” to see the available contacts.
- Select a contact or a group of contacts
- Drag the contacts to the “New Group”
- Click on “File>Print”. You can see a print dialogue box after that.
- Click on the “Show Details”, located at the lower portion of the print dialogue.
- When everything is set, you can see “Hide Details” there.
- Ensure that your contacts are chosen from the Pop-up menu below the page range field.
- Click on “Style> Mailing Labels”
- Then, select the Layout.
- Go to another pop-up menu named “Page” and choose the appropriate number that is attached with your labels.
- Select the manufacturer of your labels from that menu.
- If you intend to change the label view, click on the “Label”.
- Select the Address type from the “Address” menu. You can choose both home and work address as p[er your choice. Besides, there are options to choose a country and company name for your convenience.
- If you have any problem with default color and font, you can change them. You just need to select an image that you want to print.
- In the end, click on “Print” to print a draft copy on a plain paper. It is helpful to check the mistakes properly.
- When you are confirmed of your information, print the labels on the original label stock.
The Way you can Print Address Labels on Mac
Mac allows printing address labels through Contact App. But this app can only print address labels associated with contact cards. That’s why you need to ensure that your contact or group of contacts are attached with addresses.
The process of printing address labels on Mac include-
- Open the Contact App on Mac
- Click on “File>Print>Style>Mailing Labels”
- Alternatively, click on “File>Print>Show details>Mailing Labels”
- Click on “Layout” to customize the address labels.
- In the end,click on “Print”.
How do you Print Avery Labels in Word on a Mac ?
Are you worried about how to print labels on Mac through word? It’s not a brainstorming task to do nowadays. You can easily print customized Avery labels on any version of Mac. Let’s dig it deeper.
First, you need to create a customized sheet of an Avery label. To do this, open the word document an click on the “Mailing>Labels>Options”
Then, you have to select the Avery sheet size and number of products. Usually, you have options like Avery US Letter, Avery A4, Avery A5, etc. You should choose as per your requirement. In the end, click on the “OK” and save the changes you have made.

Now, you have come to the most wanted part of this segment, that is printing Avery labels in Word on a Mac PC. In this case-
- Open the Word file
- Go to the “File” option
- Choose the number of sheets you want to print
- Click on “Print”
You can check “How to Adjust Printer Settings for Avery Labels” to get an improved printing from Mac.
Printing Labels on a Mac- Limitations
You may face some issues when customizing the name of the couples sharing the same last name. Usually, the Contact App of Mac doesn’t support variation in the name format used on the labels.
So, what’s the solution?
Very simple. You can use a “Swift Publisher” App that allows you to create different fields from contacts.
Final Thoughts
We think you have gathered a clear concept on how to print labels on Mac through this article. You just need to follow the instructions properly to get a perfect label printed on Mac.
If you have anything more to know about printing labels on a Mac, please leave us comments.
That’s all for now. Happy printing.