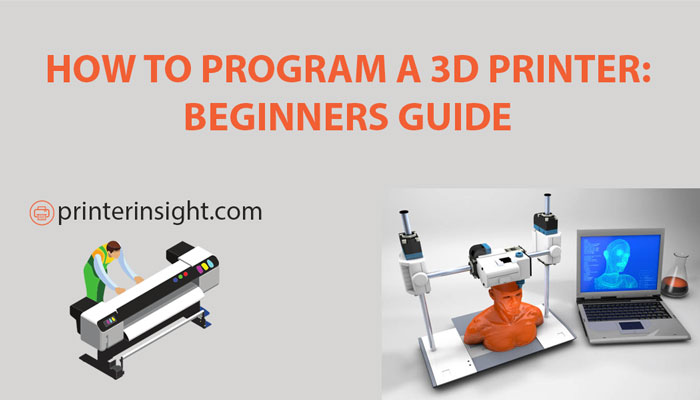
Are you thinking about getting your hands on 3D printing?
Well, then, this is the perfect place for you to get started. 3D printing is a technical and rather tricky process if you have never done it before. However, in this blog, we will give you simplified instructions on how to program a 3D printer.
What Is 3D Printing?
If you want to tantalize your creativity with 3D printing, having detailed knowledge about it is essential. 3D printings are actual figures of your imagination. There are different 3D printing technologies, and each requires different software and techniques to operate.
The most common 3D printer technologies are FDM or FFF. FDM stands for Fused Deposition Modeling, and FFF stands for Fused Filament Fabrication. These types of printers need spools of plastics or filament, and these filaments can also be made of different materials.
What Is Filament?
The filament is a conducting wire with a high melting point which is melted by the hot end of a 3D printer that moves around and builds your desired model by layering the melted filament.
Now here comes the tricky part. First, you need to know that this is not a skill that you can achieve overnight. Like everything else, practice makes your models perfect with time. Let’s see what you need to get started with your 3D printing.
Before you initiate, you will need a 3D printer, filament, computer, and necessary software to design (which we will discuss later in the blog). Now let’s see how you program a 3D printer.
How To Program A 3D Printer?
There are four steps to printing-
- Designing
- Creating g-code
- Transfer design to your printer
- Command printer to start printing
Designing
The first step of designing is to get a computerized model of your imagination to achieve a 3D version of your model. For that, you need a Computer-Aided Design (CAD) modeling software and, of course, a computer. Here, you can build your three-dimensional model. Once your model is done, you need to export it, and it will create a dot STL file. Later on, the STL file will be imported into the Slicer to create the g-code according to your printer.
You must be wondering what software to use to create your model. There are several free software that allows you to create three-dimensional models, and one of the most popular among them is Tinkercad. Here you can use the basic shapes, connect them or move around aiming to get the perfect model for 3D printing. There is no limit to what you can create with Tinkercad or similar software.
There is other, more professional software like Fusion 360, which you can use for advanced model creation. However, as beginners, starting with simple software and building your skill for the professional ones will be more appropriate.
If you want, you can even skip the whole “design building” altogether and download ready-made models or STL files from the net. Thanks to websites like Thingiverse, which allows you to choose from various designs from different makers, you can make your 3D prints directly after creating a g-code.
Creating g-code
Creating a g-code for 3D printing is done by a Slicer. No, this Slicer does not include blades and knives. However, it is an essential step towards creating your 3D model. The Slicer is a software program that runs on your computer and modifies your models so that you get perfect 3D prints according to your printer’s function.
Many printers come with their own Slicing program that you can install on your computer, or you can go to your printer’s website and download it for free. There are even Slicers that you can purchase like Simplify3D. However, free Slicers are also available. One of the most popular free Slicer software is Ultimaker Cura.
Once you import your dot STL file (model) into the Slicer, you can change and modify all the different parameters for your 3D printer. You can change the density of your model, you can select the output of your prints, and can even make copies of the same model if you want.
You can determine the temperature of your printer during printing as different filament materials have different melting points. Basically, with the help of the Slicer software, you can guide and command your printer on how to print the model that you have created.
Transfer Design To Your Printer
There are three ways to transfer your g-code into your 3D printer.
- Transfer the g-code to an SD card, and plug the SD card into the SD card slot of your printer.
- Connect your printer with your computer with a USB cable and transfer the file.
- If your printer has WiFi, you can transfer the file wirelessly into its inbuilt SD card and print it from there.
Command Printer To Start Printing
From your printer’s LED, choose the option for your desired printing method and click on print. You will get your 3D figure in no time. You will get a duration for your particular model depending on its size and density.
Final Word
Although it all sounds pretty fascinating, 3D printing can take a lot of time and some trial and error before you excel. Start with some simple designs and work your way up to the complicated ones. Now that you know how to program a 3D printer and where to find beginners’ software, we wish you all the best for your upcoming 3D printing journey.
You May Also Like:


