How to Fix a Printer Jam: A Calm, Step-by-Step Guide
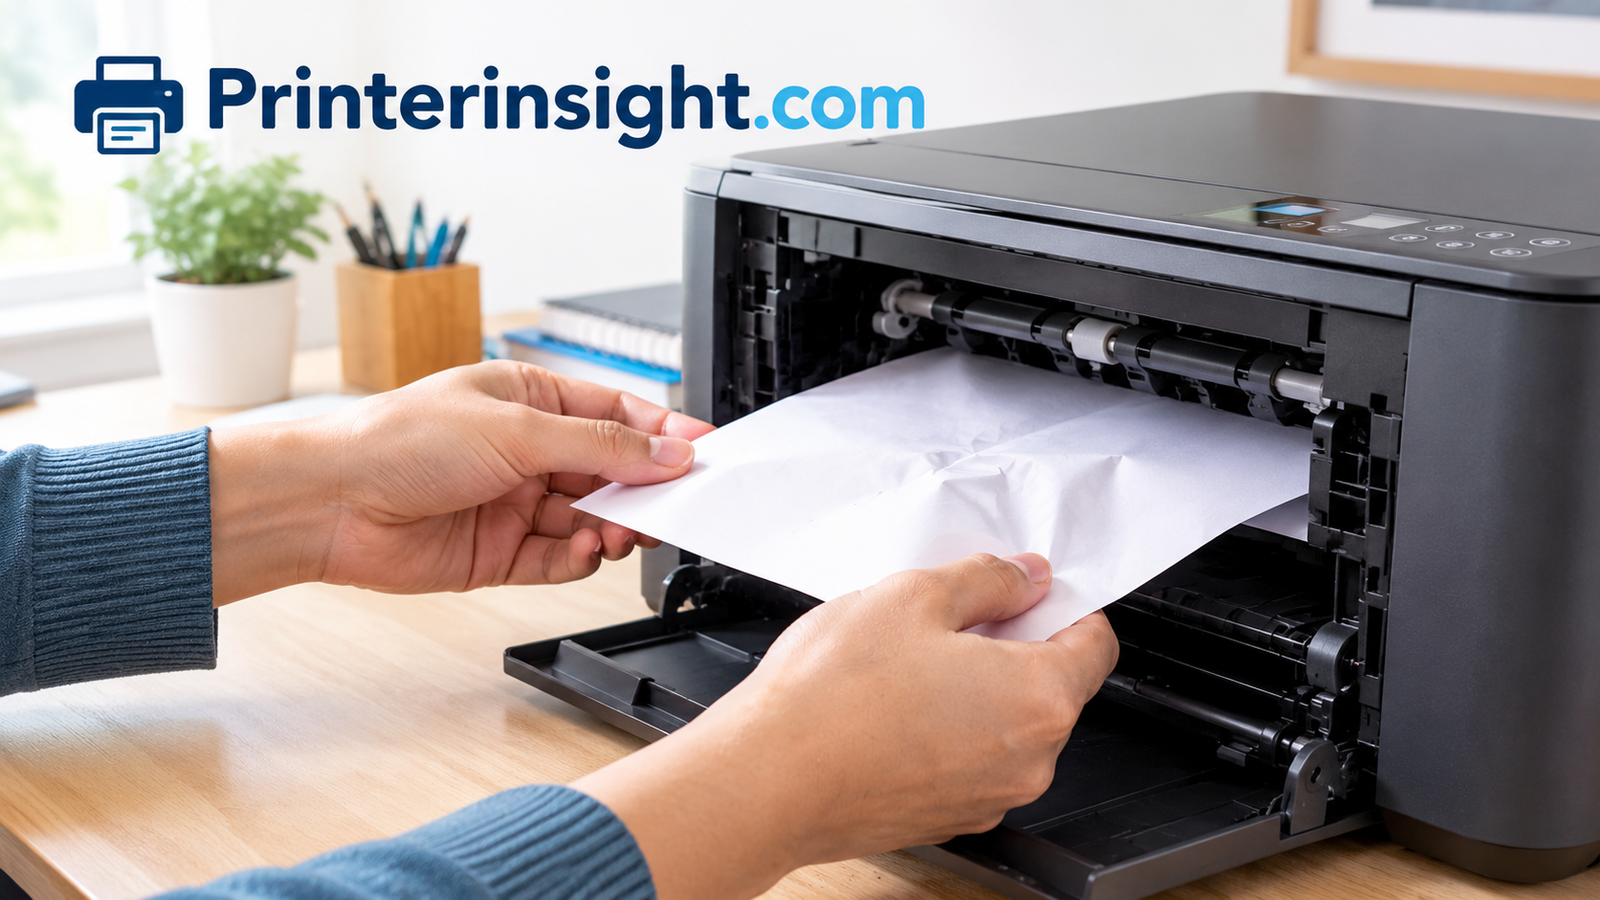
A crumpled sheet stuck halfway through the machine is one of the most frustrating small disasters of home printing. The good news: almost every jam can be cleared in about ten minutes without tools, and without damaging anything, if you go slowly and in the right order.
Why Printers Jam in the First Place
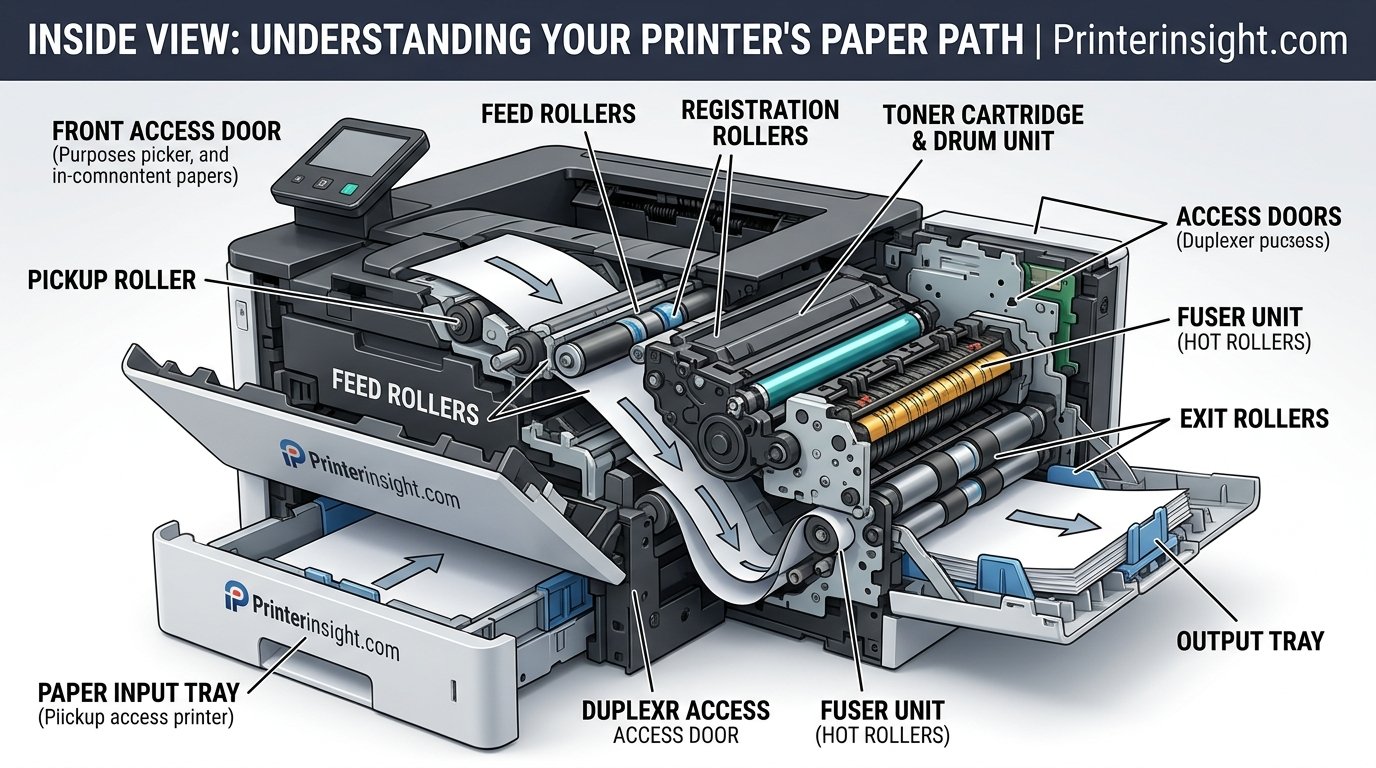
A printer pulls a sheet from the tray with a rubber roller, drags it through a curved path, and pushes it out again, all in a couple of seconds. Anything that changes how that sheet moves, whether it’s moisture, dust, wrinkles, or a stray staple, can stop it mid-journey.
| Common cause | What you’ll notice | Quick fix |
|---|---|---|
| Damp or curled paper | Sheet crumples at the entry | Use fresh, flat paper |
| Overfilled tray | Several sheets pulled at once | Load fewer sheets |
| Dirty rollers | Paper slips, then bunches | Wipe rollers gently |
| Torn scrap left inside | Repeated jam in same spot | Check the full path |
Knowing the likely cause helps you avoid repeating the problem. If your machine also prints blank sheets after a jam, our guide on why a printer prints blank pages covers that next problem.
Fresh, flat paper prevents a surprising number of jams.
Shop Printer Paper on AmazonStep 1: Turn Off and Unplug the Printer
Before you touch anything, power the printer down and pull the plug. This stops motors from moving mid-removal and protects both you and the internal gears. Wait about a minute so hot parts, especially in laser models, can cool.
Keep a spare printer power cable handy.
Browse Printer CablesStep 2: Open Every Access Point
Most printers hide the jam behind more than one door. Open the front paper tray, the rear access panel, and the top or scanner cover, and look for the cartridge area too. Jams are often visible from just one opening, but the torn corner is usually somewhere else.
A small flashlight makes hidden scraps easy to spot.
See Small FlashlightsStep 3: Remove the Jammed Paper Gently
Grip the sheet with both hands and pull slowly in the direction of the paper path, usually the way it would normally travel. Steady pressure beats a hard yank, which tears the sheet and leaves fragments behind. If it tears, use tweezers to lift every piece out.
Do
- Pull along the paper path
- Use both hands, even pressure
- Collect every torn scrap
Don’t
- Yank sharply or upward
- Use knives or metal tools
- Leave small corners inside
Precision tweezers help retrieve small torn scraps.
Find Precision TweezersStep 4: Inspect and Clean the Rollers
With the paper out, look at the rubber rollers. Shiny, glazed, or dusty rollers lose grip and cause the next jam. Dampen a lint-free cloth with water, wring it out well, and wipe each roller as you rotate it by hand. If you’re also seeing streaky prints, see our steps for how to clean printer heads.
Lint-free cloths are gentle on rubber rollers.
Shop Lint-Free ClothsStep 5: Reload the Paper Correctly
Remove the old stack, tap it on a flat surface to align the edges, fan it lightly, and load it back in. Slide the guides until they touch the sides without bending the paper, and stay below the fill line. Match the paper size and type in your print settings.
Quality paper feeds more smoothly.
Compare Copy PaperStep 6: Close Up and Run a Test Print
Close every door until it clicks, plug the printer back in, and power it on. Print a single simple page first. If it comes out clean, you’re done. If the printer says it’s offline afterward, see why your printer keeps going offline and our guide to a printer not responding.
Need a reliable replacement machine? Start here.
Shop Home PrintersHow to Prevent Printer Jams
Store paper flat in a dry place, don’t mix paper types in one tray, and never top up a half-full stack with fresh sheets. Dust the paper path lightly each month, and follow our home printer maintenance tips for a routine that takes minutes. Inkjet owners should also read how to prevent an inkjet printer drying out.
Sealed paper storage keeps sheets flat and dry.
Browse Paper StorageWhen a Jam Means It’s Time to Replace the Printer
Occasional jams are normal. Constant jams after cleaning, grinding noises, or worn rollers point to an aging machine. Compare our best home printers or read inkjet vs laser for home before you buy.
Ready to upgrade? See what’s popular right now.
Shop Wireless PrintersFrequently Asked Questions
Why does my printer keep jamming?
Usually damp paper, an overfilled tray, or dirty rollers. Fix those three first.
Can I use a tool to remove stuck paper?
Plastic tweezers are fine. Avoid metal tools that can scratch rollers or sensors.
Do I need to unplug the printer?
Yes. It stops motors and protects your hands and the machine.
What if the paper tore and I can’t find the scrap?
Shine a light through every door and rotate the rollers by hand. Leftover scraps cause repeat jams.
Why does the printer say jam when there isn’t one?
A dusty sensor or a stuck flap is likely. Clean the path and restart the printer.
Can humidity cause jams?
Yes. Damp paper curls and clings together, so store it sealed.
Is it safe to pull paper backward?
Follow the normal travel direction whenever you can. Backward pulls can strip gears.
How often should I clean the rollers?
Every few months, or sooner if paper slips.
Do laser printers jam more than inkjets?
Not necessarily. Laser jams can involve hot parts, so let them cool first.
Should I buy a new printer after one jam?
No. Replace it only if jams persist after cleaning and good paper.
Final Thoughts
Fixing a jam comes down to patience: power down, open everything, pull gently, clean the rollers, reload neatly, and test. A little care each month keeps the paper moving for years.
Stock up on supplies so the next print job goes smoothly.
Shop Printer SuppliesYou May Also Like
Get set up in minutes.
Fix missing-driver problems.
Send jobs to the right device.
Keep ink fresh longer.