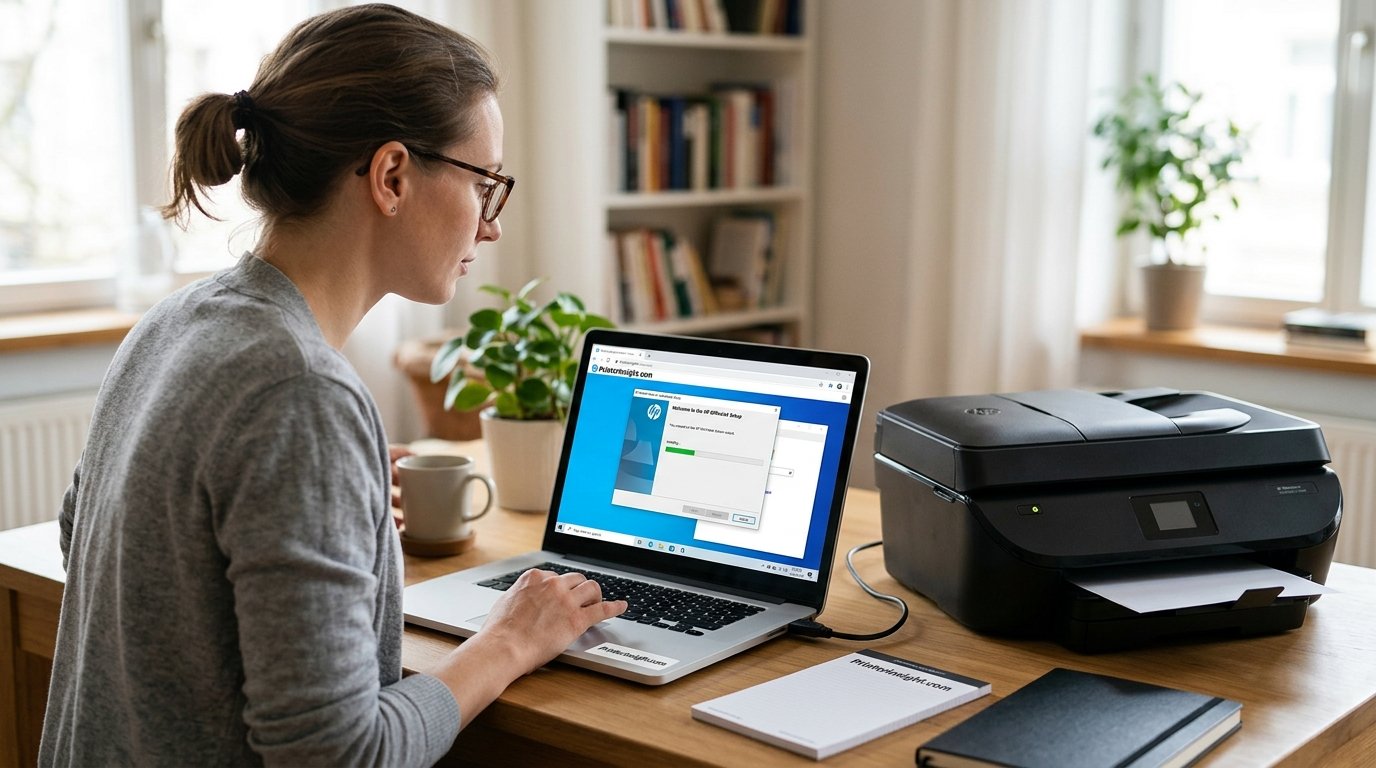
How to Install Printer Drivers: The Complete Step-by-Step Guide for Windows, Mac, and Beyond
Get any printer talking to your computer the right way the first time, with clear steps, visual diagrams, and fixes for the problems that trip most people up.
You unbox a shiny new printer, plug it in, press print, and nothing happens. Or worse, a cryptic message tells you the driver is unavailable. It is one of the most common frustrations in home and office computing, and it almost always comes down to one small piece of software: the printer driver.
The good news is that installing a driver is not difficult once you know the sequence. This guide walks you through the entire process in plain language. You will learn what a driver is, how to find the correct one for your exact model, how to install it on Windows and macOS, how to connect over USB or Wi-Fi, and what to do when things go sideways. Every core step includes a diagram so you can see what should be happening on your screen and on your desk.
If you are still shopping and have not picked a machine yet, our roundup of the best home printers worth buying right now is a good place to start, because driver support and software quality are part of what separates a smooth printer from a headache.
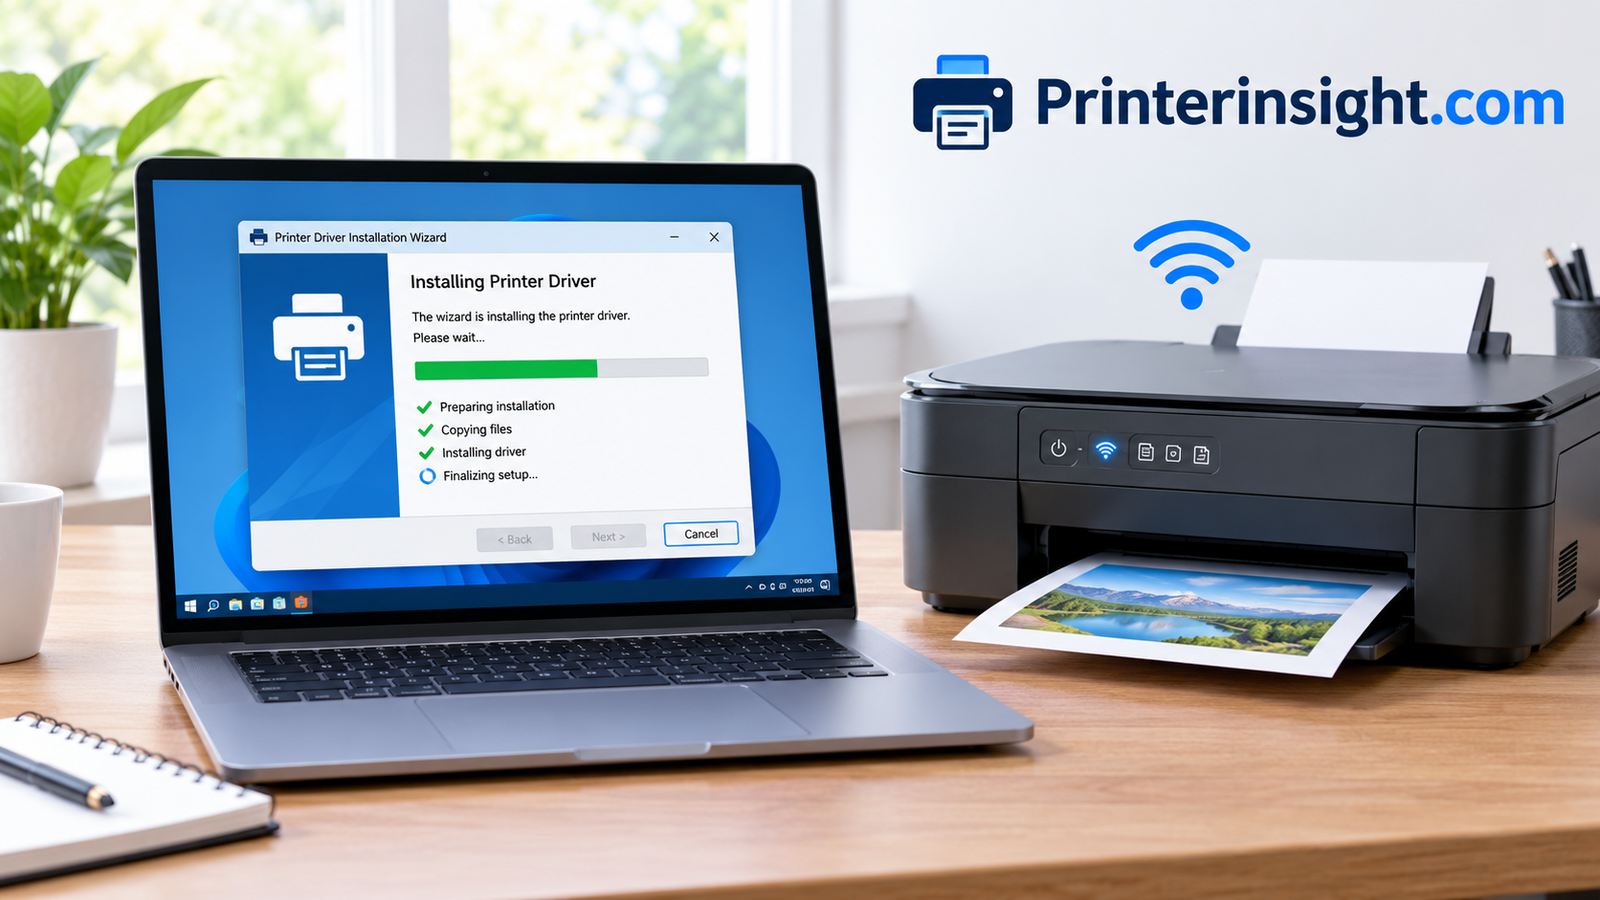
What a Printer Driver Actually Does
A printer driver is a translator. Your computer speaks in documents, images, and spreadsheets. Your printer speaks in its own specific language of dots, ink or toner instructions, paper feeds, and page layouts. The driver sits in the middle and converts what you see on screen into precise instructions the hardware understands. Without it, the two devices are like strangers who do not share a language.
Drivers also expose the settings you use every day. Paper size, print quality, duplex printing, color versus grayscale, borderless photos, and tray selection all come from the driver’s dialog box. A generic driver may show only the basics, while the full manufacturer driver unlocks everything your model can do.
Why the correct driver matters
- Reliability: The right driver prevents random errors, stalled queues, and jobs that vanish without printing.
- Print quality: Color profiles and resolution controls are tuned to your exact hardware, which matters most for photos and graphics.
- Feature access: Scanning, wireless setup, ink level monitoring, and maintenance tools often depend on the full software package.
- Security: Current drivers include patches for known vulnerabilities, something that matters more than most people realize.
What happens when you press print
It helps to picture the journey a document takes. When you click print, the application hands your file to the operating system. The system passes it to the driver, which converts it into a format the printer can read, often called a page description language. That data goes into a queue, called the print spooler, which feeds jobs to the printer one at a time. Only then does the printer begin moving paper and laying down ink or toner. If any link in that chain breaks, you get the familiar symptoms: a job that sits in the queue forever, a printout with strange characters, or a message that the printer is not responding.
This is also why the same printer can behave differently on two computers. One might have a current, complete driver while the other relies on a stripped-down generic version. Knowing the chain makes troubleshooting far less mysterious, because you can ask which stage failed instead of guessing at random.
Before You Begin: Quick Prep That Saves Time
A few minutes of preparation prevent the majority of installation failures. Think of it as laying out your tools before starting a repair. Nothing here is complicated, but skipping it is the reason many people end up in a loop of half-installed software and confusing error messages.
Your pre-install checklist
- Unbox and power up the printer. Remove all shipping tape and protective film, insert the ink cartridges or toner, and load a few sheets of paper.
- Do not connect the USB cable yet unless your manual says otherwise. Many manufacturers want the software installed first so the driver is ready when the printer is detected.
- Check your internet connection. You will download the latest driver from the manufacturer, which is nearly always better than the disc in the box.
- Note your operating system. You need to know whether you run Windows 10, Windows 11, or a particular macOS version, and whether it is 64-bit.
- Have your Wi-Fi name and password ready if you plan to set up a wireless connection.
- Sign in as an administrator. Driver installation needs permission to change system files.
If you plan to use Wi-Fi, it helps to skim our guide on how to connect a printer to Wi-Fi before you start, so the network prompts do not catch you off guard.
Why the order of operations matters
Printers are designed with a certain installation order in mind, and ignoring it is a classic source of trouble. When you plug in a USB printer before its driver exists, your operating system may grab a generic driver on its own. That generic version can then get in the way of the full package, leaving you with duplicate printer entries, one that works partially and one that does nothing. Installing the manufacturer’s software first, then connecting the printer, avoids this tangle and gives you one clean entry in your printer list.
It also pays to place the printer near your router if you plan to go wireless. Signal strength affects the initial setup more than most people expect, since the wizard has to find the printer and confirm a stable connection. You can always move the printer afterward, but a strong signal during setup removes one common source of failure.
Step 1: Identify Your Exact Printer Model
Step 1Printer families are confusing. A model called “Envy 6055” and one called “Envy 6055e” may need different software, and a single letter can change everything. Your first task is to find the complete model name and number, not just the brand.
Where to find the model name
- On the printer itself: Look at the front panel, the back label, or inside the cartridge door. A sticker usually lists the model and serial number.
- On the display: Many printers show model information under Settings, About, or Printer Information.
- On the packaging or receipt: Retail boxes list the full name in large print.
- On the manual: The cover and specifications page both name the model.
Next, confirm your operating system. On Windows, press the Windows key, type “About your PC,” and open it to see your version and whether it is 64-bit. On a Mac, click the Apple menu and choose About This Mac. Write both details down. If you own a familiar name such as an Epson EcoTank or a Brother laser, our coverage of the best Brother printers for home and the best HP printers for home use shows how model naming works in each lineup.
Step 2: Download the Right Driver From the Official Source
Step 2With your model and operating system in hand, head to the manufacturer’s support website. Every major brand, including HP, Canon, Epson, and Brother, runs a downloads page where you can search by model. Going directly to the source guarantees you get a clean, current, safe file.
How to choose the correct file
Most pages offer several options. Here is how to read them:
- Full driver and software package: Includes the print driver plus scanning, utilities, and ink monitoring. This is the best choice for most people.
- Basic driver only: A slimmer download with just the print driver. Useful on managed office computers or older machines.
- Firmware update: This updates the printer itself, not your computer. Install it only if the notes say it fixes an issue you have.
Save the file somewhere easy, such as your Downloads folder. Do not open it yet if your printer requires the cable to stay unplugged. Check the file size against what the site lists; if it looks tiny or huge, you may have the wrong item. Should you ever suspect a connectivity issue is stopping the download or the printer, our article on why a printer keeps going offline can help you rule it out.
Reading the download page like an expert
Support pages can look overwhelming, but a few habits make them manageable. First, read the release notes beside each download. They tell you what changed, which operating systems are supported, and whether a newer version fixes a problem you are experiencing. Second, note the version number and date. If two packages are listed, the newer one is usually the better choice unless the notes warn of an issue with your specific system. Third, pay attention to the language and region, since a few manufacturers publish separate installers for different markets.
If your operating system is newer than anything listed, do not panic. Manufacturers often list the previous version’s driver as compatible, and Windows in particular tends to maintain backward compatibility. Try the closest match, and check the support page’s compatibility notes before assuming your printer is unsupported.
Step 3: Install the Driver on Windows
Step 3Windows installation follows a predictable pattern. You run the installer, accept the license, choose a connection type, and let the wizard copy files. The whole process usually takes three to seven minutes depending on the package size.
- Open your Downloads folder, right-click the installer, and choose Run as administrator.
- If Windows asks for permission, click Yes.
- Accept the license agreement and select the recommended setup option.
- When asked how the printer connects, choose USB or Wireless/Network to match your plan.
- Follow the on-screen prompts. Plug in the USB cable only when the wizard tells you to.
- Click Finish and restart if requested.
The built-in Windows method
If you prefer not to use the manufacturer’s installer, open Settings, go to Bluetooth & devices, then Printers & scanners, and select Add device. Windows searches for nearby printers and installs a compatible driver automatically. If your printer is not listed, choose Add manually and pick the manufacturer and model from the list, or use Windows Update to fetch more drivers.
What to expect during the wizard
Wizards vary, but the moments that trip people up are consistent. During the connection step, some installers offer a choice between a “recommended” setup and a “custom” one. Recommended is nearly always right, because it installs the driver, utilities, and scanning tools together. The custom path is worth using only if you want to skip optional software such as photo apps or registration tools.
Another common moment is the discovery screen, where the installer searches for your printer. If it finds nothing, resist the urge to cancel. Confirm the printer is on and shows a steady connection light, then use the option to search again or to enter the printer’s IP address manually. You can usually find the IP address by printing a network configuration page from the printer’s menu.
Step 4: Install the Driver on a Mac
Step 4macOS handles printers more gracefully than most people expect. Thanks to AirPrint, many modern printers work the moment they appear on your network, and Apple maintains a large library of drivers that it downloads automatically when needed.
- Open the Apple menu and choose System Settings (or System Preferences on older versions).
- Select Printers & Scanners.
- Click Add Printer, Scanner, or Fax (the plus button).
- Pick your printer from the list. The Use menu should show AirPrint or the specific model name.
- Click Add. If macOS needs software, it will download it automatically.
For the full feature set, including scanning and ink monitoring, download the manufacturer’s Mac package and run it, just as you would on Windows. Mac users choosing a new machine may enjoy our guide to the best home printers for Mac, which highlights models with especially smooth macOS support.
Step 5: Connect by USB or Wi-Fi
Step 5Once the driver is in place, the printer needs a path to your computer. You have two main options. USB is the simplest and most stable. Wi-Fi is more flexible because every device on your network can print without cables. Choose based on how you use your printer.
USB versus Wi-Fi at a glance
| Feature | USB | Wi-Fi |
|---|---|---|
| Setup difficulty | Very easy | Moderate |
| Stability | Excellent | Good, depends on signal |
| Number of users | One computer | Many devices |
| Mobile printing | No | Yes |
| Best for | Single-user desks | Homes and shared offices |
For USB, connect the cable when the installer prompts you, and wait a few seconds for the “device ready” message. For Wi-Fi, use the printer’s control panel to pick your network and enter the password, then let the installer find it. HP owners can follow our specific walkthrough on connecting an HP printer to Wi-Fi. If you want to make choices about wireless printing in general, take a look at the best wireless printers for home.
Tips for a stable wireless connection
Wireless printers work best when they are treated as fixed devices on your network. Give the printer a reserved address in your router settings, or assign it a static IP, so it does not change after a power cut. When the address changes, your computer keeps looking at the old one and the printer appears to be offline even though nothing is wrong with it. Many router apps make this a one-tap setting under connected devices.
Also watch out for dual-band routers. Some printers only support the 2.4 GHz band, and if your phone or laptop is on a separate 5 GHz network name, they may not see each other. Keeping both bands under one network name or joining the printer and computer to the same band removes the confusion. Guest networks are another culprit, because they often isolate devices from one another by design.
Step 6: Print a Test Page and Set Your Default Printer
Step 6Do not assume everything works because the wizard said “complete.” A test page confirms that the driver, the connection, and the printer are all cooperating. It also shows you whether colors, alignment, and paper feeding look right before you print something important.
How to do it
- Windows: In Printers & scanners, select your printer, open Printer properties, and click Print Test Page. To make it the default, choose Set as default. Our short guide on how to change the default printer shows every variation.
- Mac: Print any document, and in the print dialog choose your printer. To set a default, use the Default printer menu in Printers & Scanners.
Inspect the result. Text should be crisp, colors should look natural, and there should be no streaks or gaps. Faint stripes or missing colors point to a maintenance issue rather than a driver problem, and you will find help in our guide on how to clean printer heads.
Chromebook, Linux, and Mobile: Printing Without Traditional Drivers
Not every device installs drivers the way Windows and macOS do. Chromebooks, Linux systems, phones, and tablets rely on standardized printing technologies, which makes life easier in most cases and confusing in a few.
Chromebook
ChromeOS has no downloadable drivers. It prints through network protocols that most modern printers support. Open Settings, go to Advanced, then Printing, and choose Printers. Chromebook usually finds nearby network printers on its own. If yours does not appear, use Add printer and enter its IP address. Some printers work far better with Chromebooks than others, which is exactly why we put together a list of the best printers for Chromebook.
Linux
Most Linux distributions include CUPS, the Common Unix Printing System, which auto-detects a wide range of printers. Open your printer settings, click Add, and let the system search. If the printer is missing, check the manufacturer’s site for a Linux package, or install the open-source driver bundles many distributions provide, such as those covering common HP and Epson devices.
iPhone, iPad, and Android
Phones and tablets use AirPrint on Apple devices and the built-in Print Service on Android. No installation is usually required. On Android, you may need to enable the manufacturer’s print service plugin in Settings if your printer does not show up. The key rule is that the phone and printer must be on the same Wi-Fi network.
Pros of driverless printing
- Nearly instant setup
- Works across many devices
- Fewer software conflicts
Cons of driverless printing
- Fewer advanced settings
- Scanning may be limited
- Ink monitoring may be missing
Driver Types Compared: Which One Should You Choose?
When you open a support page, you may see several driver labels that sound almost identical. Understanding them takes the guesswork out of your download choice. Each type serves a different situation, and none is universally superior.
| Driver type | What it includes | Best for | Limitations |
|---|---|---|---|
| Full software package | Print driver, scan tools, utilities, ink monitor | Home users wanting every feature | Larger download, extra apps |
| Basic print driver | Only the printing component | Offices, older PCs, minimalists | No scanning or maintenance tools |
| Universal driver | One driver that supports many models of a brand | IT admins, shared offices | May lack model-specific options |
| Built-in OS driver | Basic driverless printing via system support | Quick setup, guests, phones | Limited settings and features |
| Class driver (IPP) | Standard protocol driver from the operating system | Modern network printers | Advanced finishing options missing |
How to decide
If you own a multifunction printer and want to scan, choose the full package. If you use a laptop shared in an office where IT policy limits installed software, pick the basic or universal driver. If you simply need to print an occasional document, the built-in option is more than enough. Also think about the printer type: laser and inkjet models differ in the settings they expose, as our comparison of inkjet versus laser printers for home explains.
Brand ecosystems matter too. HP tends to push its own companion app, Epson bundles a robust utility for its EcoTank line, and Brother offers a compact installer. If you are weighing brands purely on software polish, see Brother versus HP printers for home and Canon PIXMA versus HP Envy for side-by-side notes.
Troubleshooting and the Clean Reinstall Method
Even careful installations sometimes go wrong. The printer may not be detected, the queue may freeze, or the driver may appear installed but refuse to print. Most problems fall into a handful of categories, and a systematic approach fixes almost all of them.
Common problems and quick fixes
| Symptom | Likely cause | Fix |
|---|---|---|
| Printer not found during setup | Different networks, or cable issue | Put devices on the same Wi-Fi; try another USB port or cable |
| “Driver unavailable” message | Wrong or missing driver | Reinstall the driver from the manufacturer |
| Jobs stuck in queue | Corrupted print spooler | Restart the Print Spooler service and clear the queue |
| Printer shows offline | Network drop or wrong port | Restart printer and router, recheck the port |
| Prints blank or garbled pages | Mismatched driver version | Remove old drivers and install fresh |
Offline status and unresponsive printers are especially common. Our step-by-step pages on why your printer keeps going offline and on fixing a printer that is not responding cover every cause in detail.
The clean reinstall
Step 7 · ResetWhen nothing else works, remove every trace of the old driver and start clean. This is the single most effective fix for stubborn driver problems.
- Unplug the USB cable if connected. Open Printers & scanners and remove the printer.
- On Windows, press Windows + R, type
printui /s /t2, press Enter, select the old driver, and click Remove then Remove driver and driver package. - Uninstall any manufacturer software for that printer from Apps.
- Restart the computer and the printer.
- Download the newest driver and install it following Steps 1 through 6.
Restarting the print spooler
When a job refuses to print or delete, the spooler is often the problem. On Windows, press Windows + R, type services.msc, and find Print Spooler in the list. Right-click it and choose Restart. If jobs are still stuck, stop the service, delete the files inside the spool folder that Windows uses for print jobs, and start the service again. This clears corrupted data without touching your installed driver, and it fixes a surprising number of “it just stopped working” cases in a couple of minutes.
Common mistakes to avoid
- Installing multiple driver packages at once. Finish one installation and restart before trying another.
- Choosing the wrong architecture. A 32-bit driver will not work on a 64-bit-only system, and the reverse can also fail.
- Ignoring administrator rights. Without them, the installer may appear to finish but leave files uncopied.
- Using a damaged cable. A worn USB cable can cause intermittent detection that looks like a driver problem.
- Forgetting the firewall. Strict firewall rules can block network printer discovery.
Keeping Your Printer Drivers Healthy Over Time
Installing a driver is not a once-and-forget task. Operating systems update, printers receive firmware improvements, and drivers get patches. A little routine attention keeps everything smooth and prevents the sudden “it worked yesterday” failure.
Good habits to adopt
- Update after major OS upgrades. A new Windows or macOS version can break older drivers. Check the manufacturer’s site right after a big update.
- Enable automatic updates carefully. Windows Update handles many drivers on its own, which is fine, but verify that it did not replace your full package with a basic one.
- Keep printer firmware current. Firmware updates fix bugs and security holes, and most printers can update from their own menu.
- Use the printer regularly. Occasional printing prevents clogged nozzles, especially on inkjets. Our advice on preventing an inkjet printer from drying out explains how.
- Store spare supplies properly. See how to store printer cartridges so they are ready when needed.
- Follow a maintenance routine. Our home printer maintenance tips cover cleaning, alignment, and paper care.
Think about long-term costs
A printer that installs easily but drains your wallet on ink is not a bargain. Consider running costs early. Our comparisons of the cost of printer ink versus toner and the home printers with the cheapest ink help you plan. If low running costs matter most, read the best ink tank printers for home and whether ink tank printers are worth it. For review-style detail on two popular lines, see our Epson EcoTank review and Epson EcoTank versus HP Smart Tank.
A simple yearly rhythm
You do not need a complicated schedule. A light routine is enough: once every few months, glance at the manufacturer’s support page for your model, print a test page, and confirm that the printer status shows as ready. If you notice the status flipping between ready and offline, investigate early rather than waiting for a deadline-day failure. Keeping a note of your model number, driver version, and the date you installed it makes future troubleshooting faster, because you can tell at a glance whether an update has happened since the problem began.
It is also smart to save a copy of the installer you used. If a future update introduces a bug, having the previous working version on hand lets you roll back quickly. Store it in a labeled folder alongside your printer’s manual and any network settings, and you will thank yourself the next time something needs fixing.
Frequently Asked Questions
How do I install a printer driver without the CD?
Download it from the manufacturer’s support website. Search your exact model, choose your operating system, and run the installer. This is usually newer and safer than the disc, since discs often ship with outdated software.
Do I need to install a driver for every printer?
Not always. Many modern printers work through built-in operating system support or AirPrint. You only need the manufacturer’s driver if you want scanning, ink monitoring, or advanced print settings, or if your system cannot find a compatible built-in option.
Should I plug in the printer before or after installing the driver?
Follow the installer’s prompts. Many manufacturers ask you to install the software first and connect the cable only when the wizard says so. Wireless printers just need to be powered on and joined to your network.
How do I know which driver is right for my computer?
You need your exact printer model and your operating system version, including whether it is 64-bit. The manufacturer’s download page filters the list for you once you enter those details.
Why does Windows say the driver is unavailable?
Windows could not find a compatible driver in its library. Download the correct one from the manufacturer, or open Add manually in Printers & scanners and pick your model. If a previous attempt failed, do a clean reinstall.
How do I install a printer driver on a Mac?
Open System Settings, choose Printers & Scanners, click Add, and select your printer. macOS downloads what it needs automatically. For extra features, run the manufacturer’s Mac installer.
Can I install a printer driver over Wi-Fi?
Yes. Connect the printer to your Wi-Fi network first, run the driver installer on your computer, and choose the wireless or network option. The installer will discover the printer so long as both devices share the same network.
How do I remove an old printer driver?
Delete the printer in Printers & scanners, uninstall its software from Apps, then remove the driver package through Print Server Properties on Windows. Restart your computer before reinstalling a fresh version.
Is it safe to download drivers from third-party websites?
It is best to avoid them. Unofficial sites and “driver updater” tools may bundle unwanted programs or supply the wrong file. The manufacturer’s site is the reliable source.
Why does my printer keep going offline after installation?
Usually the cause is a network change, a sleeping printer, or an incorrect port. Restart the printer and router, confirm both are on the same network, and check the port setting. Our offline troubleshooting guide covers each cause.
Do Chromebooks need printer drivers?
No. ChromeOS uses built-in network printing, so you only add the printer in Settings under Printing. Choosing a Chromebook-compatible model makes this smoother.
How often should I update my printer driver?
Check after major operating system upgrades, when you notice new problems, or when the manufacturer announces a fix. If everything works well, there is no need to update constantly.
Conclusion: Setup Is Simple When You Follow the Sequence
Installing a printer driver feels intimidating mostly because of the unknowns: which file, which order, which cable. Once you break it down, the path is short and repeatable. Identify your exact model, download the driver from the official source, run the installer, connect the printer by USB or Wi-Fi, and confirm everything with a test page. If something breaks, a clean reinstall solves the large majority of stubborn cases.
Keep the habits from this guide in mind, especially checking drivers after big operating system updates and using your printer regularly so it stays healthy. A well-set-up printer quietly does its job for years. If your current machine keeps giving you trouble despite a clean install, it may be time for a reliable replacement, and a good one will make everything you just learned even easier.