How to Scan From Printer to Computer: A Simple Guide for Windows, Mac, and Wireless Setups
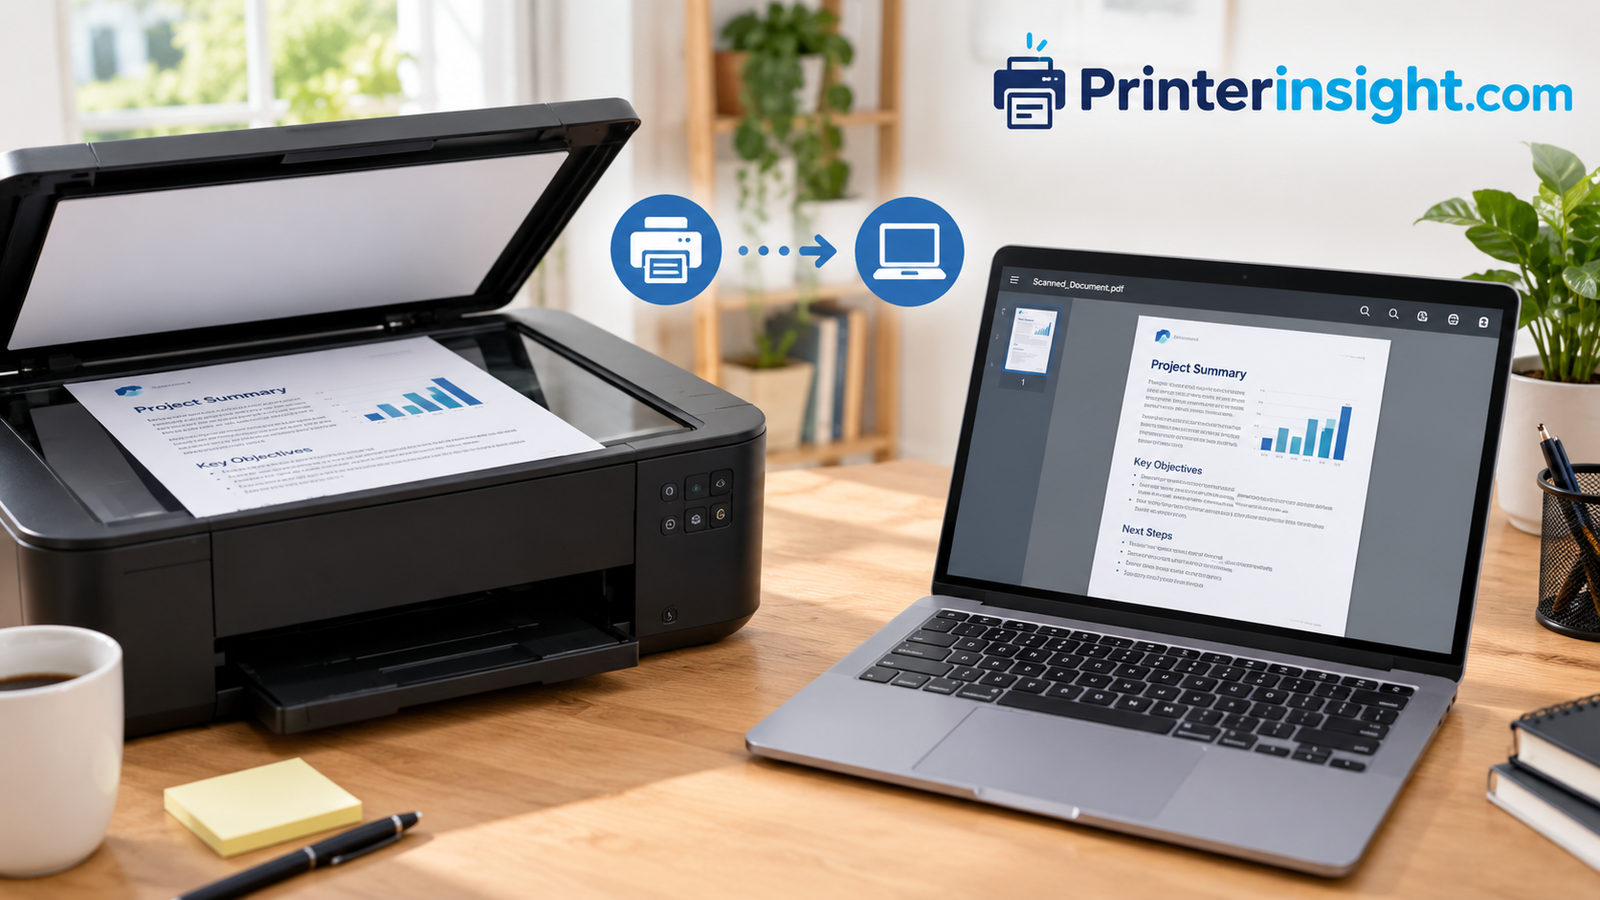
You put a page on the glass, press a button, and a digital copy lands on your computer. That is the promise. In real life, though, the first scan often goes sideways: the computer cannot find the printer, the file saves somewhere odd, or the result comes out crooked and faded. This guide walks through the whole process in plain language, so your first scan works and every scan after it gets easier.
1. How Scanning From a Printer Actually Works
A scanner slides a bar of light beneath your page and records the reflection as tiny dots of color. Your computer receives those dots and assembles them into an image or PDF. Nothing more mysterious than that. What confuses people is the connection between the two devices: the printer has to be reachable by the computer, and the computer needs the right software to ask it for a scan.
Most home scanning happens on an all-in-one machine that prints, copies, and scans. If you are still shopping for one, our roundup of the best all-in-one printer for home is a good place to start.
Need a printer with a reliable built-in scanner?
Shop All-in-One Printers2. What You Need Before You Start
Gather four things: a printer with a scanner (flatbed or document feeder), a computer on the same network or cable, the printer’s driver installed, and the item you want to scan. Skipping the driver is the most common reason a printer prints fine but refuses to scan.
- Check the printer is powered on and shows no error lights.
- Confirm the connection: USB cable or the same Wi-Fi network as your computer. Not connected yet? Follow how to connect a printer to Wi-Fi.
- Install drivers if needed using this driver guide.
- Wipe the glass with a dry microfiber cloth.
Keep glass and lenses spotless with a proper cleaning kit.
See Cleaning Kits3. How to Scan From Printer to Computer on Windows
Windows 10 and 11 both work well with the free Windows Scan app from the Microsoft Store. Here is the whole process, one step at a time.
Step 1: Place the document on the glass
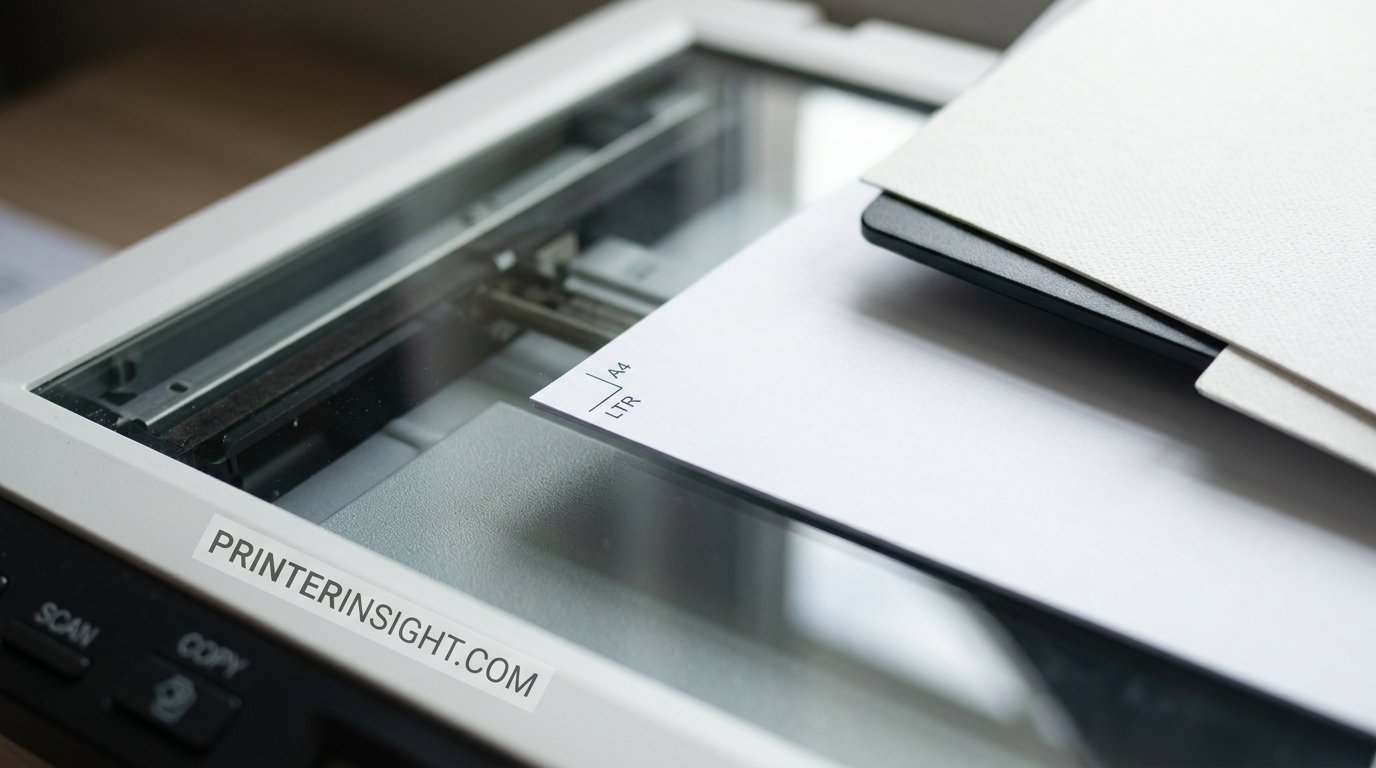
Lift the lid and lay the page face down, lined up with the arrow or corner marker.
Step 2: Open the Windows Scan app
Press the Start key, type “Scan,” and open the app. If it is missing, install it free from the Microsoft Store.
Step 3: Choose your scanner
The app lists detected devices at the top. Select your printer. If nothing appears, revisit step 2 of the setup section and check the connection.
Step 4: Set file type and resolution
Choose PDF for documents or JPEG/PNG for images. Use 300 DPI for everyday scans (more on this below).
Step 5: Click Preview, then Scan
Preview shows a quick low-res look so you can adjust the crop box. When the frame hugs the page, press Scan.
Step 6: Save and find your file
By default, scans land in Pictures\Scans. Click the folder link to open it, then rename and move the file wherever you like.
Windows sometimes points to the wrong device when you own several. If scans or prints go to the wrong machine, see how to change your default printer.
Want a printer that pairs easily with Windows?
Browse Wireless Printers4. How to Scan on a Mac
Macs handle scanning through built-in tools, so there is nothing to download for most modern printers. Open System Settings › Printers & Scanners, select your printer, and click Open Scanner. Alternatively, use the Image Capture app, which gives more control over format and destination folder.
- Place the page on the glass.
- Open Image Capture and choose your printer in the left sidebar.
- Click Show Details and set the format, resolution, and save location.
- Click Scan.
Shopping for a Mac-friendly machine? See the best home printer for Mac.
AirPrint-ready printers make Mac scanning painless.
See Mac-Friendly Printers5. Scanning With the Printer’s Own Button
Many printers have a Scan to Computer option on the control panel. It is handy when your computer is in another room. Choose Scan on the printer screen, pick your computer from the list, and press Start. Your computer must be on, and the manufacturer’s utility (HP Smart, Epson ScanSmart, Canon IJ Scan Utility, or Brother iPrint&Scan) usually needs to be installed.
Tip: If your computer does not appear on the printer’s list, it usually means the printer and computer are on different networks. Learn how to find your printer’s IP address and add it manually.
Printers with a touchscreen make scan-to-computer far easier.
Shop Touchscreen Models6. Choosing the Right Resolution and File Format
Bigger numbers are not always better. Higher DPI creates larger files that are slow to email and take longer to scan. Match the setting to the job.
| Task | Resolution | Best format |
|---|---|---|
| Text documents | 200–300 DPI | |
| Receipts and forms | 300 DPI | PDF or JPEG |
| Family photos | 600 DPI | JPEG or PNG |
| Archive-quality prints | 1200 DPI | TIFF |
| Text you want to edit | 300 DPI | Searchable PDF (OCR) |
Photo-focused scanning? Pick a printer built for detail.
Find Photo Printers7. Scanning Documents vs. Photos
Documents care about legibility; photos care about color and tone. For paper, use grayscale and 300 DPI to keep files small. For photos, switch to color at 600 DPI and skip auto-enhance if you want to edit later. Always scan photos on the glass, never through a feeder, which can bend or scratch them. If photo quality matters to you, browse the best printer for photos at home.
Protect old prints with acid-free sleeves.
Shop Photo Sleeves8. Scanning Multiple Pages Into One File
If your printer has an automatic document feeder (ADF), load the stack face up and choose the Feeder source in your scan app. No feeder? Use HP Smart, Epson ScanSmart, or Image Capture’s “Combine into single document” option and add each page from the glass. Students and home-office users will find feeders save serious time; see the best printer for students and best printer for home office.
An ADF turns a 20-page stack into a one-click scan.
Shop Printers With ADF9. Scanning Wirelessly Without a Cable
Wireless scanning works when both devices share one Wi-Fi network. Keep these points in mind: use the same band and network name, keep the printer near the router during setup, and disable VPNs that isolate local devices. Chromebook owners should check printers that work well with Chromebook, and anyone shopping for a wireless-first machine can read the best wireless printer for home.
Strong Wi-Fi equals faster, steadier scans.
See Wi-Fi Extenders10. Troubleshooting Common Scanning Problems
| Problem | Likely cause | Fix |
|---|---|---|
| Scanner not found | Different network or missing driver | Reconnect, reinstall driver |
| Streaks or lines | Dirty glass | Wipe with dry microfiber |
| Crooked scan | Page misaligned | Use the corner guide |
| Blank pages | Page placed face up | Flip it face down |
| Printer shows offline | Sleep mode or network drop | Restart printer and router |
If the printer keeps dropping off your network, read why your printer keeps going offline and what to do when it is not responding. For blank output specifically, see why a printer prints blank pages.
A quality USB cable eliminates many connection issues.
Shop USB Cables11. Keeping Your Scans Sharp Over Time
A scanner is a precision instrument disguised as an appliance. Dust, fingerprints, and glue residue show up as marks on every copy. Wipe the glass monthly, keep the lid closed when idle, and never spray cleaner directly onto the glass. Broader care habits are covered in home printer maintenance tips.
Compressed air removes dust from tight corners.
Shop Air Dusters12. Choosing a Printer With a Great Scanner
If scanning is a big part of your routine, weigh scanner features as heavily as print cost.
| Feature | Flatbed only | Flatbed + ADF |
|---|---|---|
| Best for | Photos, books, single pages | Multi-page documents |
| Speed | Slower | Faster for stacks |
| Price | Lower | Higher |
| Duplex scanning | Rare | Common on better models |
- Saves desk space
- Print, copy, and scan
- Mobile app scanning
- One failure affects everything
- Scanners are often basic on cheap models
Compare current scanner-equipped printers.
Compare ModelsFrequently Asked Questions
How do I scan from my printer to my computer?
Place the page face down, open a scan app (Windows Scan or Image Capture), pick your printer, choose a format, and click Scan.
Why can’t my computer find my printer’s scanner?
Usually the driver is missing or the devices are on different networks. Reinstall the driver and confirm both share one Wi-Fi.
Where do scanned files go?
Windows saves to Pictures\Scans by default. Image Capture on Mac uses the folder you set in its settings.
What resolution should I use?
300 DPI works for most documents. Use 600 DPI or higher for photos.
Can I scan without a USB cable?
Yes. Any Wi-Fi printer on the same network as your computer can scan wirelessly.
Can I scan using my phone?
Yes. Apps such as HP Smart, Epson Smart Panel, and Canon PRINT let you scan straight to your phone.
How do I scan multiple pages into one PDF?
Use the feeder or your scan app’s “add page” option, then save as a single PDF.
Why are my scans blurry?
Dirty glass, a lifted lid, or low DPI. Clean the glass and rescan at 300 DPI.
Does every printer have a scanner?
No. Print-only models exist, so check for “all-in-one” or “multifunction” in the description.
Is scan-to-email possible?
Many printers support it after you set up an email profile in the printer’s web page or app.
Conclusion
Scanning from printer to computer comes down to three things: a working connection, the right software, and sensible settings. Once you have done it once, the whole process takes under a minute. Start with 300 DPI, keep the glass clean, and save into a folder you will remember. If your current machine keeps fighting you, upgrading to a model with a good scanner may be the easiest fix.
Ready for a printer that scans without the headaches?
View Top Picks on Amazon