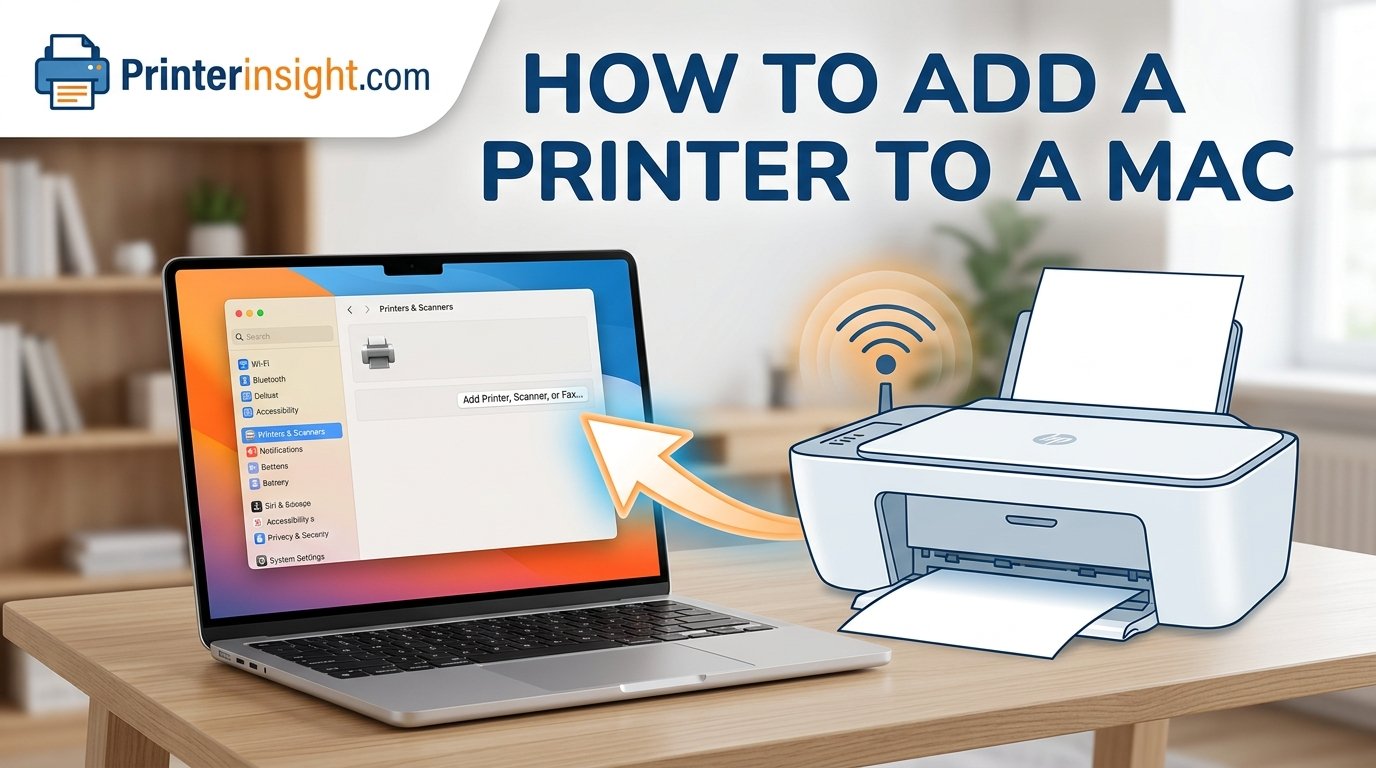
How to Add a Printer to a Mac: The Easy Step-by-Step Guide
Wi-Fi, USB or IP address: connect any printer to your Mac in minutes.
You unboxed a new printer, or a friend handed you an old one, and now you just want your Mac to see it. Good news: macOS makes this simple. This guide walks through six clear steps, each with a diagram, plus the IP and USB methods and fixes for the usual hiccups.
What You Need Before You Start
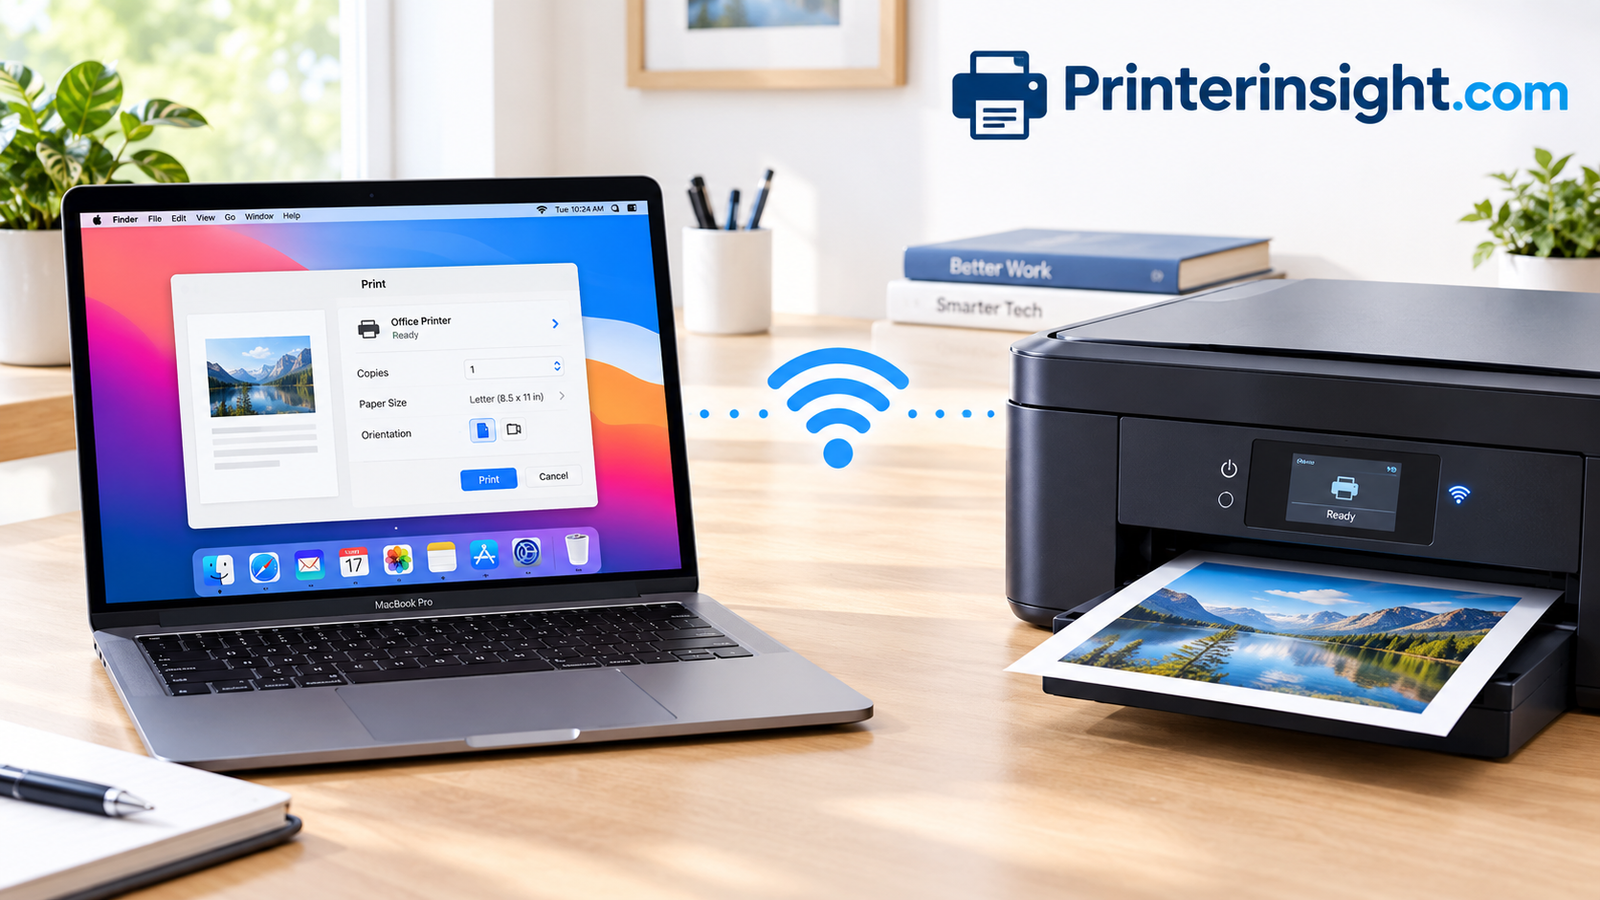
Adding a printer to a Mac is usually a two-minute job, but a little preparation saves headaches. Make sure your Mac is updated, your printer is plugged in and loaded with paper, and you know how it connects: Wi-Fi, Ethernet or USB.
- A printer that supports AirPrint, or a driver from the maker
- Your Wi-Fi name and password if the printer is wireless
- A USB cable if you prefer a wired setup
If the printer is not on your network yet, follow our guide to connecting a printer to Wi-Fi first.
Need a cable or a Mac-friendly printer?
Check Prices on AmazonWays a Mac Can Connect to a Printer
macOS supports several connection styles. AirPrint is the easiest because no driver is needed on modern printers.
| Method | Best For | Driver Needed? |
|---|---|---|
| AirPrint (Wi-Fi) | Most homes | No |
| USB | Single-Mac desks | Usually no |
| IP address | Office networks | Sometimes |
| Ethernet | Stable shared printing | No |
Shopping for a new model? See the best home printer for Mac.
Find AirPrint-ready printers
Check Prices on AmazonStep 1: Power On and Connect the Printer to Your Network
Turn the printer on and wait until it settles. Connect it to the same Wi-Fi network as your Mac, or plug in the USB or Ethernet cable.
Both devices must share one network; a guest network often blocks discovery. If it fails, read how to connect your HP printer to Wi-Fi.
Shop printers that work with Mac
Check Prices on AmazonStep 2: Open System Settings
Click the Apple menu in the top-left corner and choose System Settings. On older macOS versions this is called System Preferences.
This is where every printer on your Mac is managed.
Shop printers that work with Mac
Check Prices on AmazonStep 3: Go to Printers & Scanners
Scroll the sidebar until you see Printers & Scanners. Click it to see any printers already set up.
If yours is already listed, you are done; otherwise continue.
Shop printers that work with Mac
Check Prices on AmazonStep 4: Click Add Printer
Press Add Printer, Scanner or Fax. Your Mac searches the network and lists nearby devices within a few seconds.
The list has tabs for Default, IP and Windows connections.
Shop printers that work with Mac
Check Prices on AmazonStep 5: Select Your Printer and Driver
Click your printer name. In the Use menu, pick AirPrint or Secure AirPrint if offered. Otherwise choose the maker’s driver or Select Software.
Then press Add. Need drivers? See how to install printer drivers.
Shop printers that work with Mac
Check Prices on AmazonStep 6: Print a Test Page
Open any document, press Command-P, choose your new printer and print. A clean page means the setup is complete.
Blank result? Check why your printer prints blank pages. To make it the go-to option, follow how to change your default printer.
Shop printers that work with Mac
Check Prices on AmazonAdding a Printer by IP Address
If your printer does not appear, open the IP tab in Add Printer. Type the printer address, choose IPP or LPD, and let macOS detect the model.
Not sure of the address? Use how to find your printer IP address.
Wired network printers
Check Prices on AmazonAdding a USB Printer to Your Mac
Plug the USB cable into the Mac; macOS usually offers to add the printer automatically. Newer Macs may need a USB-C adapter.
Wired printing is very reliable, though only one Mac benefits.
Get a USB adapter or cable
Check Prices on AmazonTroubleshooting Common Problems
| Problem | Fix |
|---|---|
| Printer not listed | Same Wi-Fi, restart both, use IP tab |
| Shows offline | Remove and re-add; see why printers go offline |
| Not responding | Read this fix guide |
| Paper jam | Clear the jam |
Resetting the printing system is a last resort.
Stock up on printer paper
Check Prices on AmazonPros and Cons of Each Setup, and Keeping Things Healthy
AirPrint Pros
- No driver
- Wireless
- Shared
AirPrint Cons
- Needs same network
- Fewer advanced options
Once set up, follow home printer maintenance tips and prevent inkjet drying.
Replacement ink and toner
Check Prices on AmazonFrequently Asked Questions
How do I add a printer to a Mac?
Open System Settings, choose Printers & Scanners, click Add Printer, select your device and press Add.
Do I need to install drivers?
Most modern printers work with AirPrint and need none.
Why is my printer not showing up?
It is likely on a different network or asleep. Restart both and try the IP tab.
Can I add a printer without Wi-Fi?
Yes, use a USB or Ethernet cable.
What is AirPrint?
Apple’s driverless printing technology built into macOS.
How do I set a default printer?
Right-click the printer list or choose it from the Default printer menu in settings.
Can I add a printer by IP address?
Yes, use the IP tab and choose IPP.
How do I remove a printer?
Select it in Printers & Scanners and press the minus button.
Why does my Mac say the printer is offline?
Usually a network change; remove and re-add it.
Does this work on older macOS?
Yes, but look under System Preferences instead.
Can several Macs share one printer?
Yes, over a network connection.
How do I print a test page?
Print any document with Command-P.
Conclusion
Adding a printer to a Mac comes down to one path: System Settings, Printers & Scanners, Add Printer, then a test page. If the printer does not appear, check the network or use the IP tab. Ready for a better printer? Compare options below.
Find a printer that works great with your Mac
Check Prices on Amazon